Appearance
OpenAI Integration With Fluent Support
Fluent Support integrates OpenAI, making it easier for users to generate ticket responses, enhance their own writings, and summarize an entire conversation with users including their satisfaction status level, effortlessly with simple commands and AI-generated prompts. This article will guide you through integrating OpenAI with Fluent Support.
Integrate OpenAI with Fluent Support
Before starting the process, ensure you install and activate the Fluent Support Plugin’s latest versions (both Free and Pro) on your WordPress site. To learn how to install & activate Fluent Support , click here, and for Fluent Support Pro , click here.
Enable OpenAI Integrations
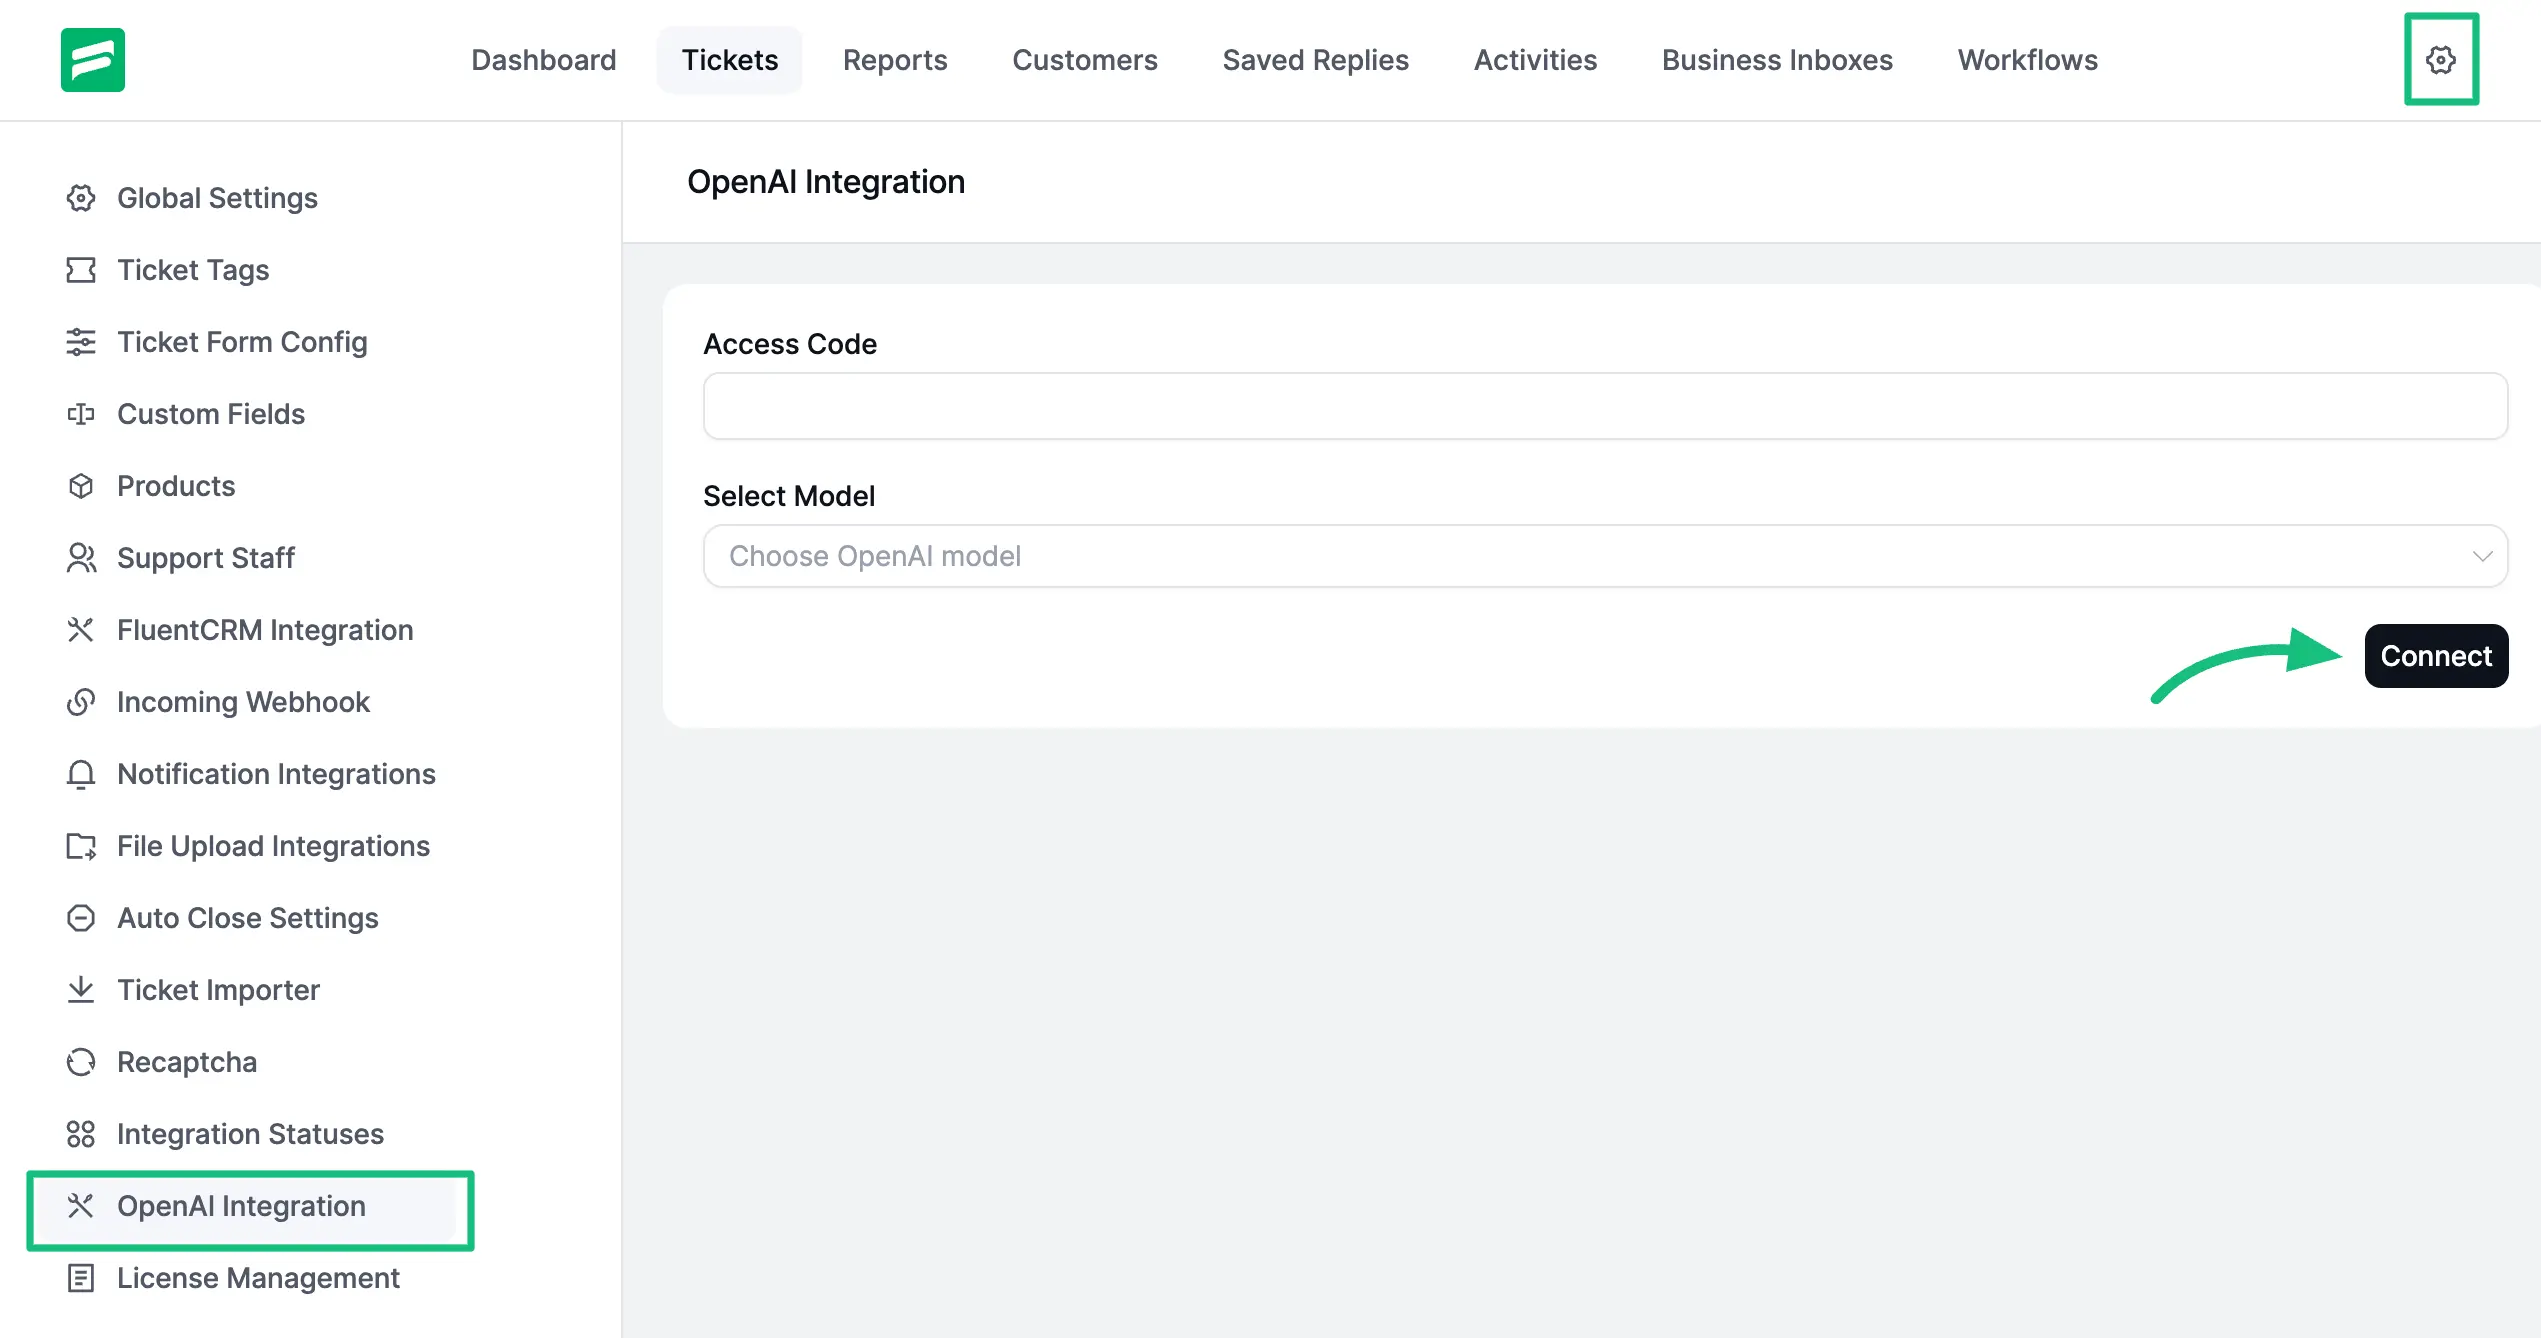
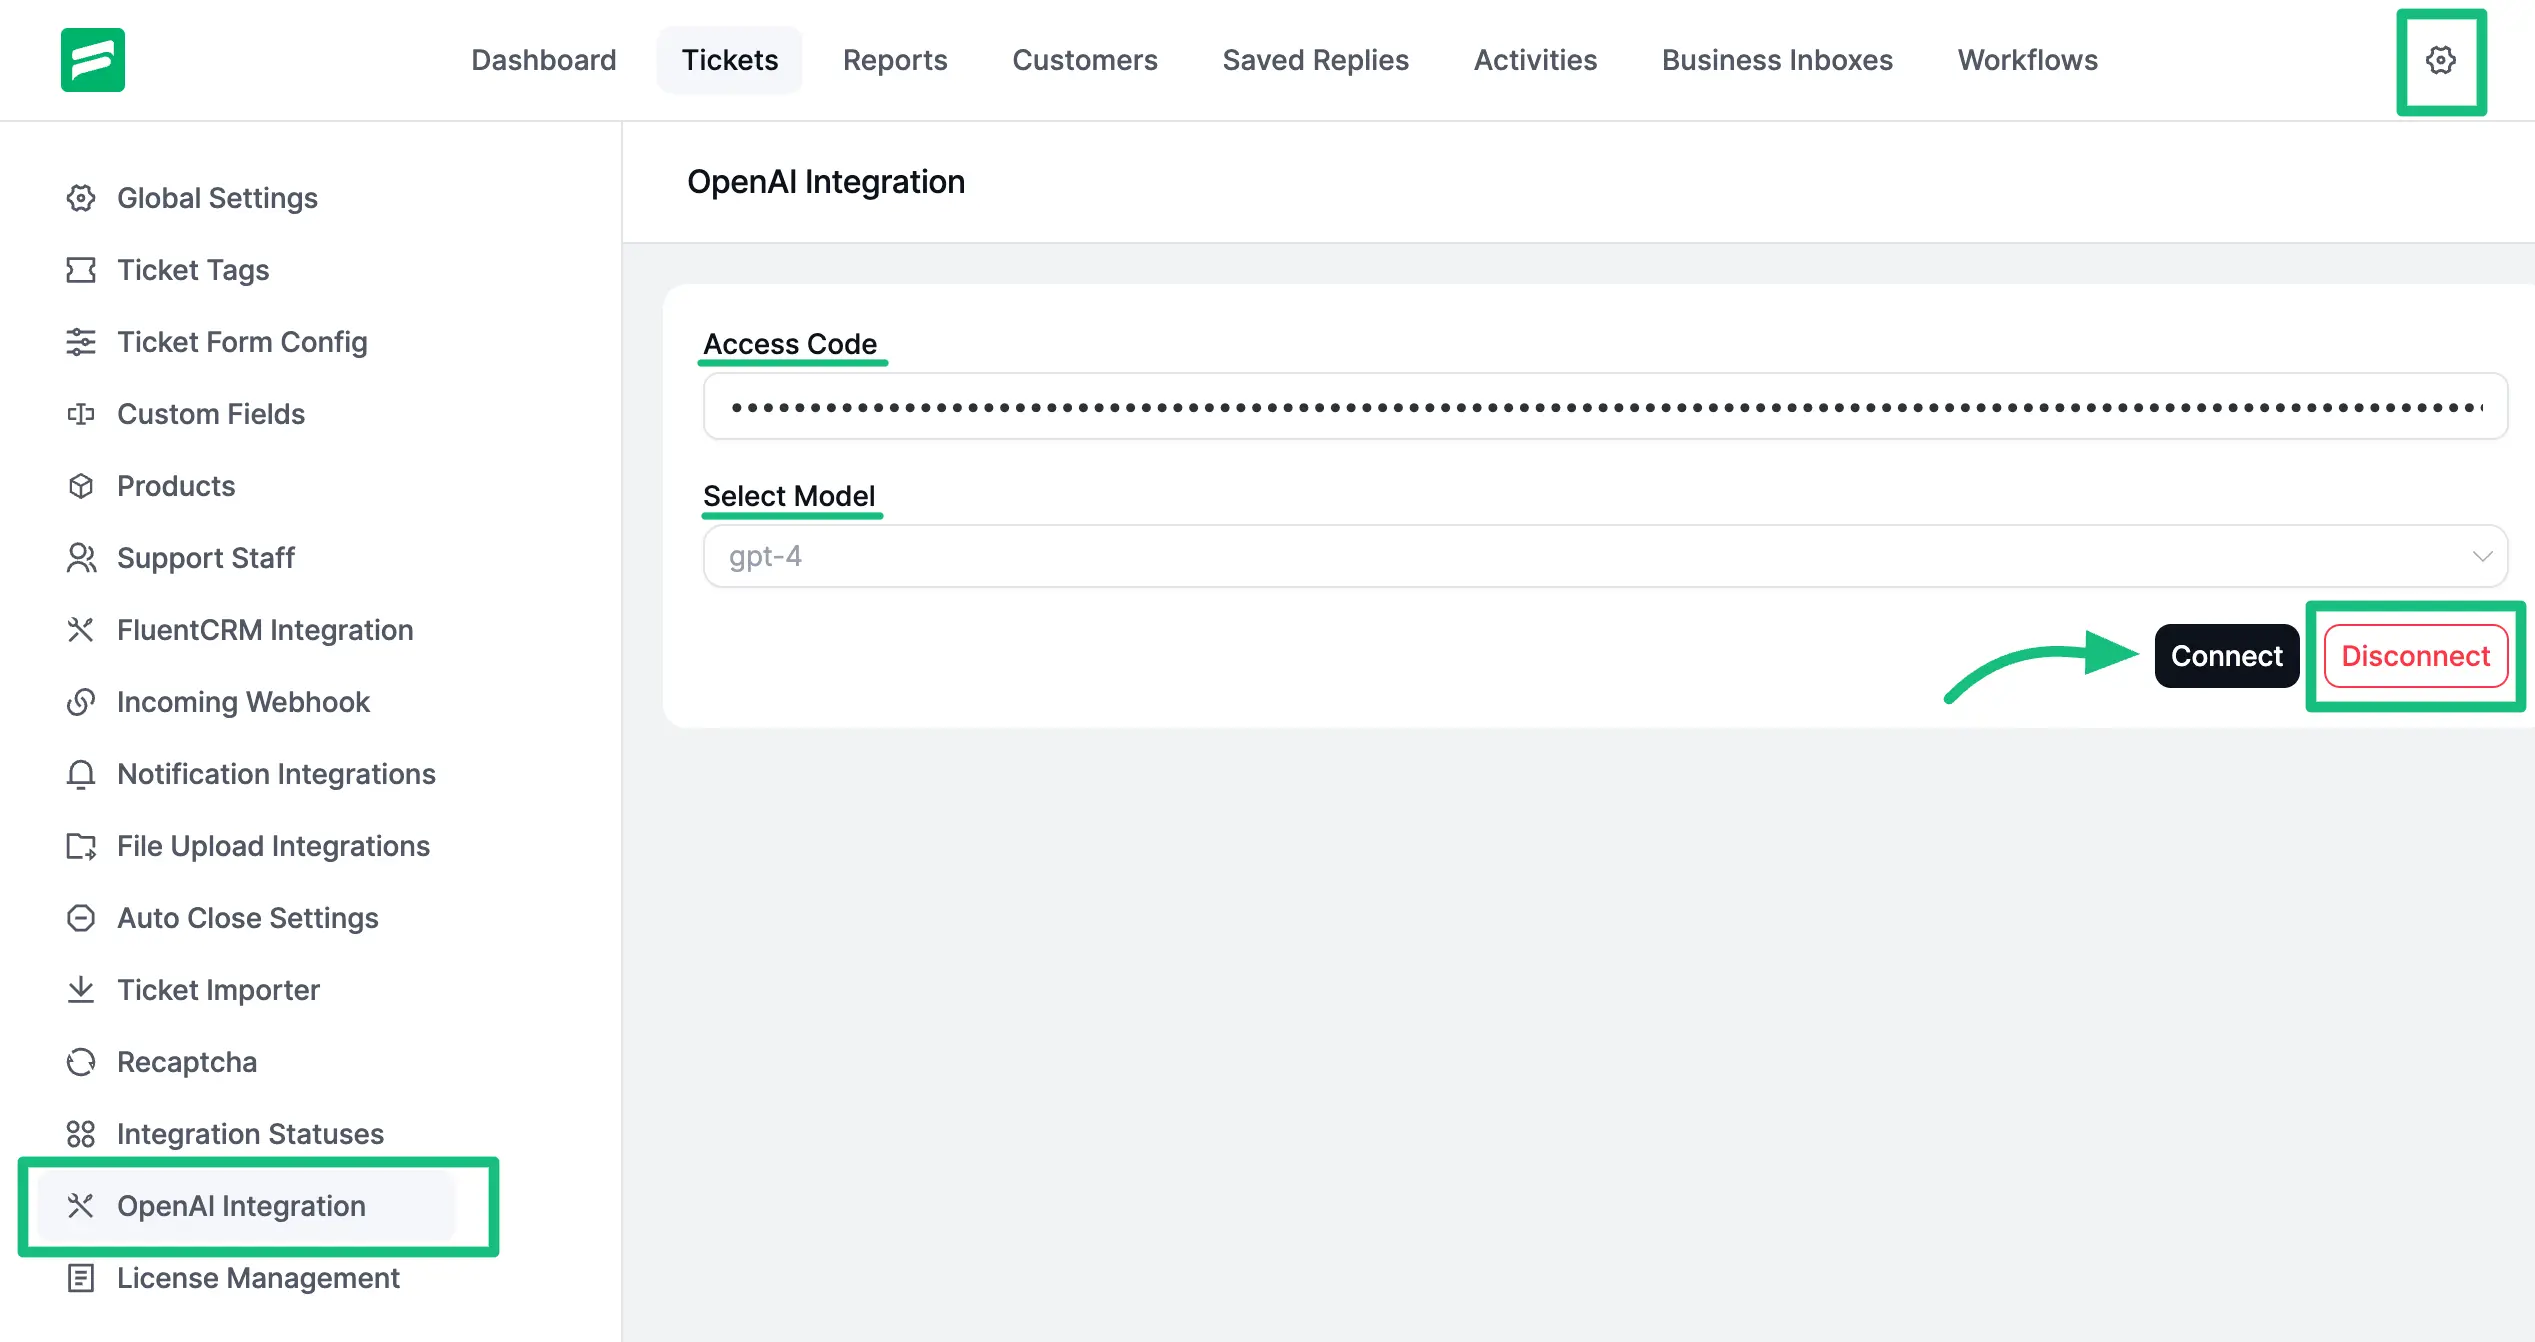
First, go to Global Settings from your Fluent Support Dashboard , and click the OpenAI Integration from the left sidebar.
Now provide the API Keys of your OpenAI under the Access Code field, and click the Verify OpenAI button to integrate the OpenAI with Fluent Support.
Get the OpenAI API keys
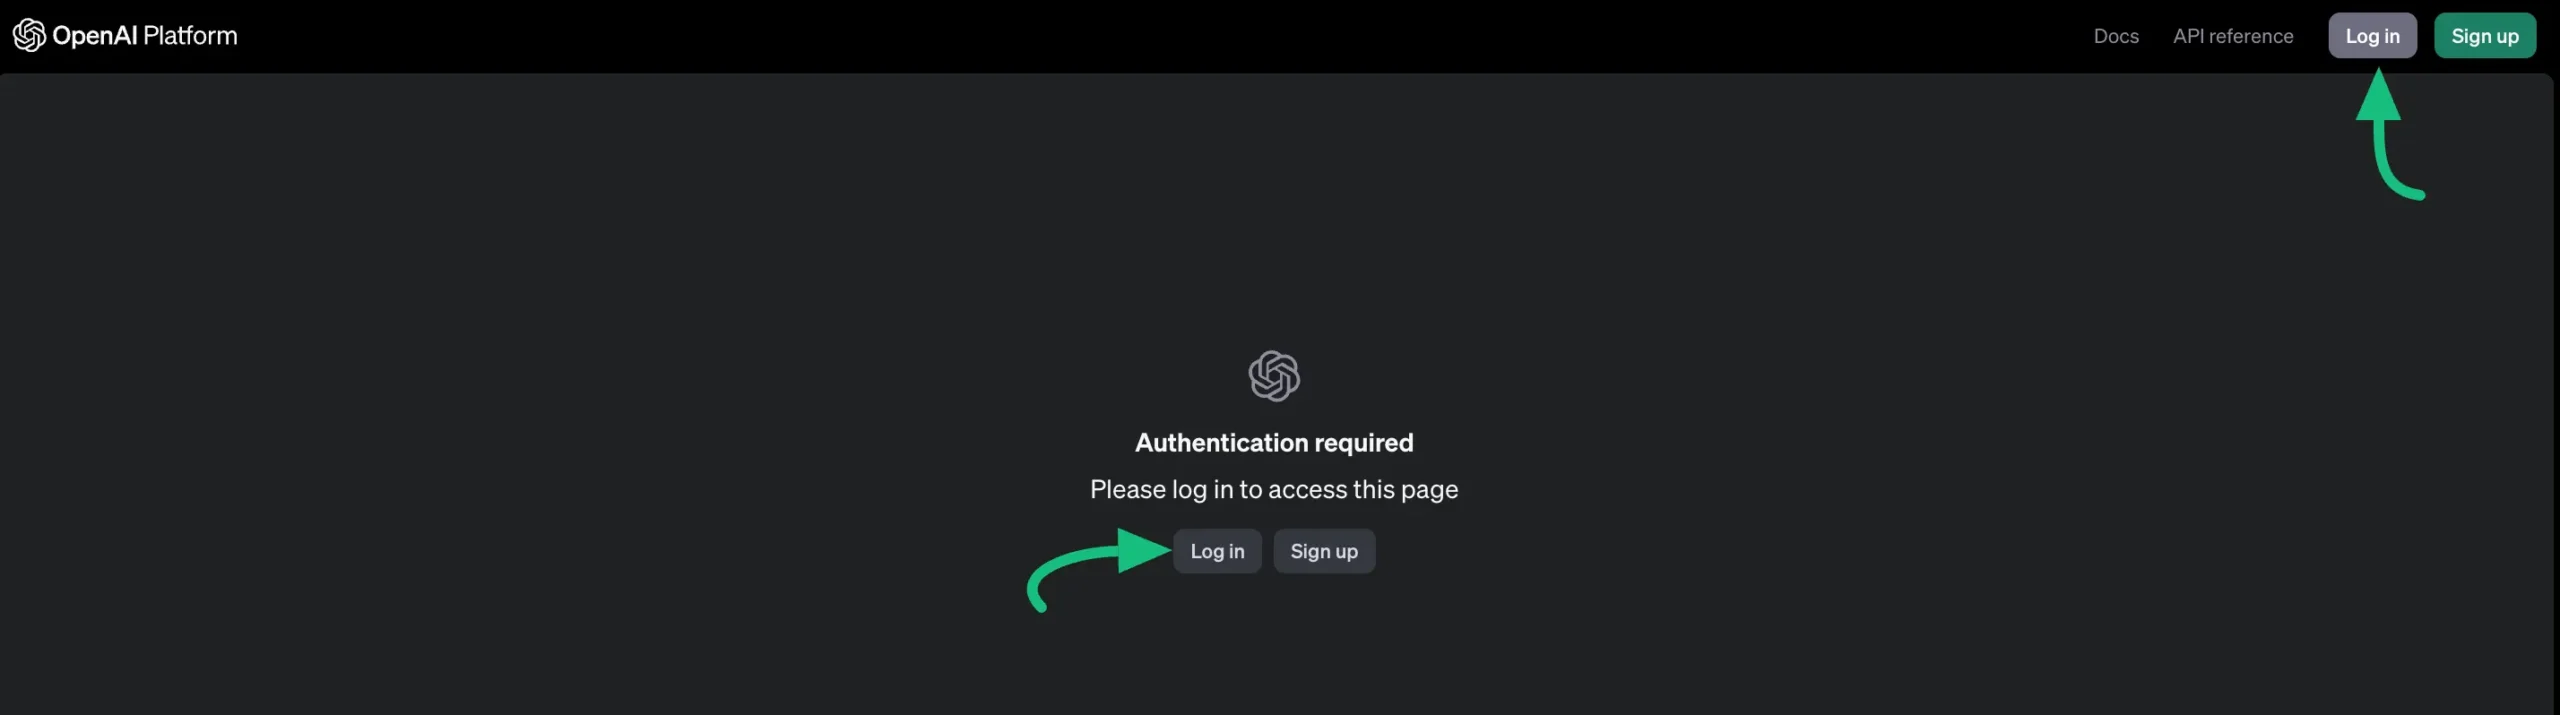
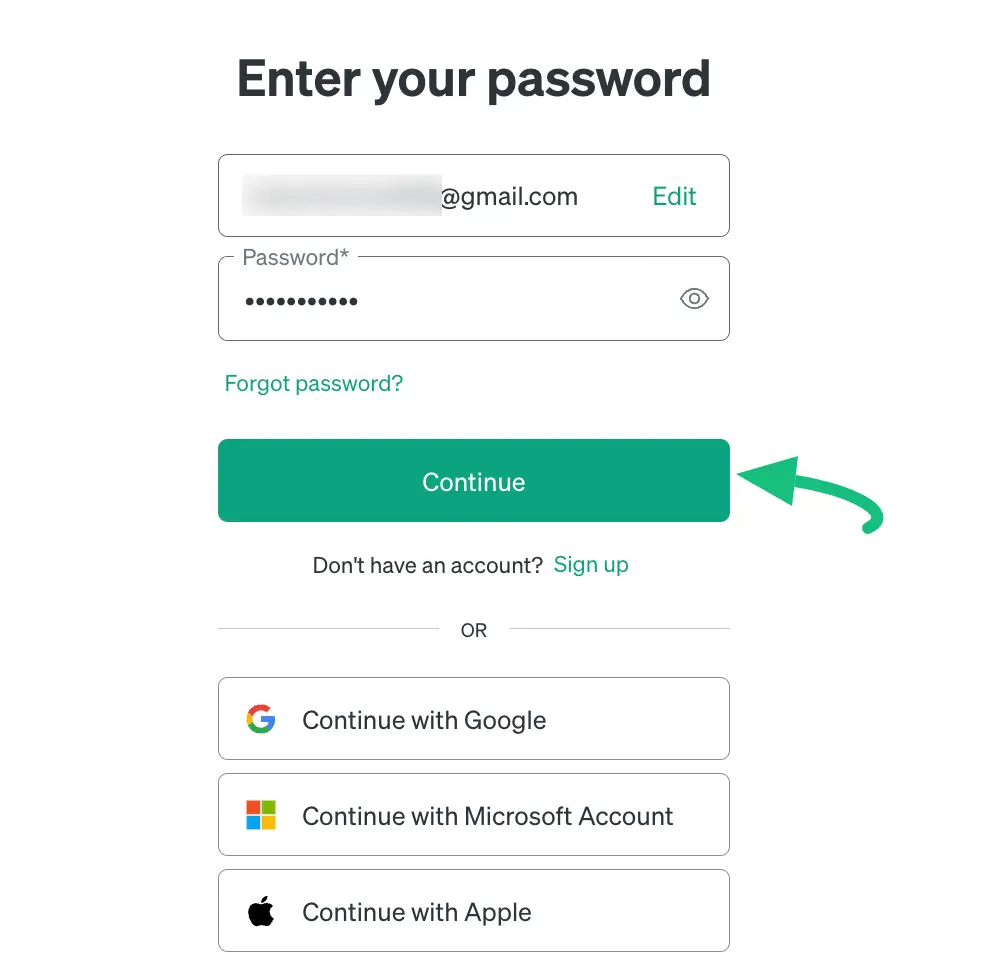
Click this Get OpenAI API Key link, login to your OpenAI account, and press the Continue button.
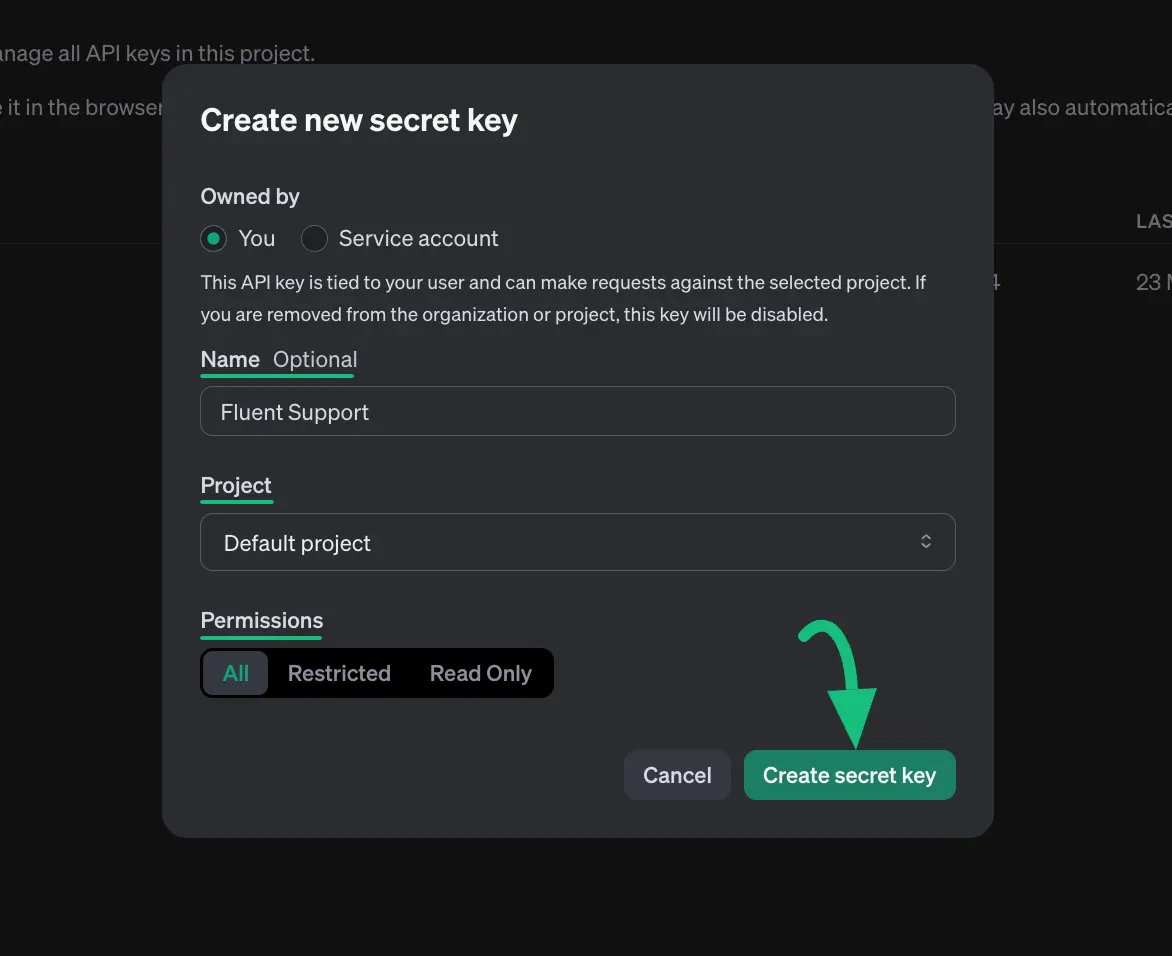
Then, go to API keys from Dashboard, click on + Create new secret key, and a popup will appear.
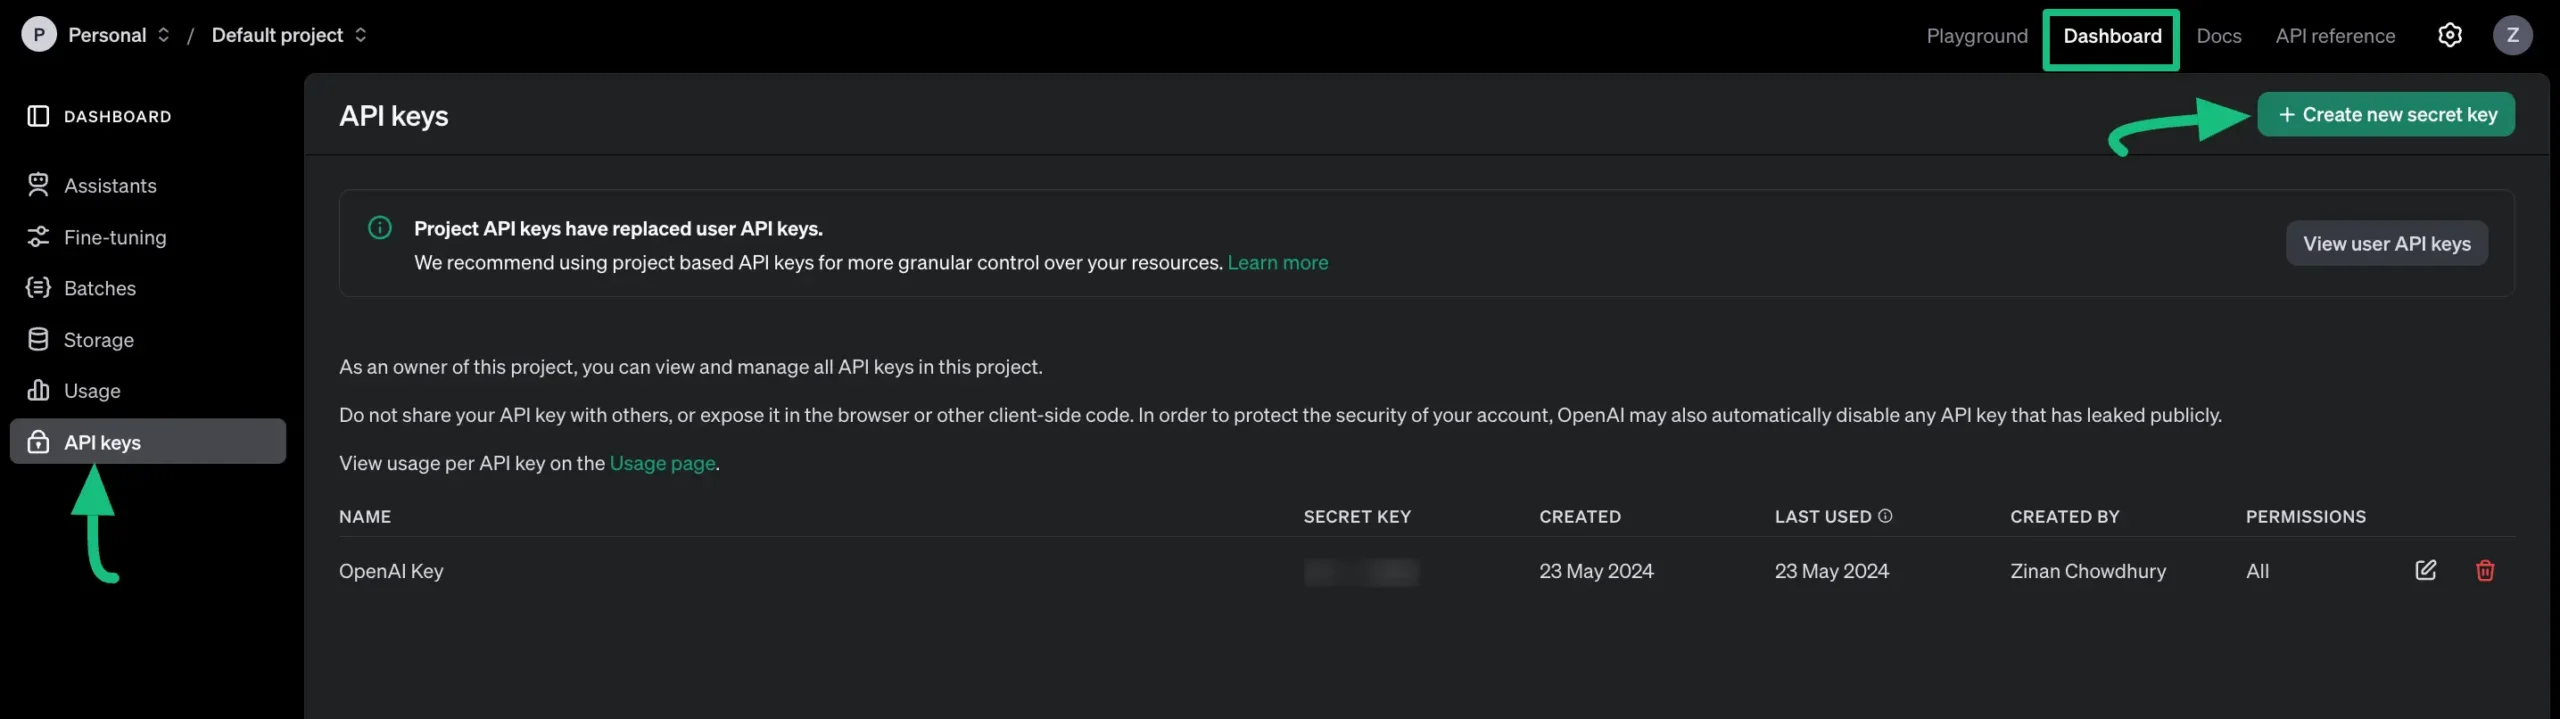
Now, fill in all the fields with the necessary information and click the Create secret key button.
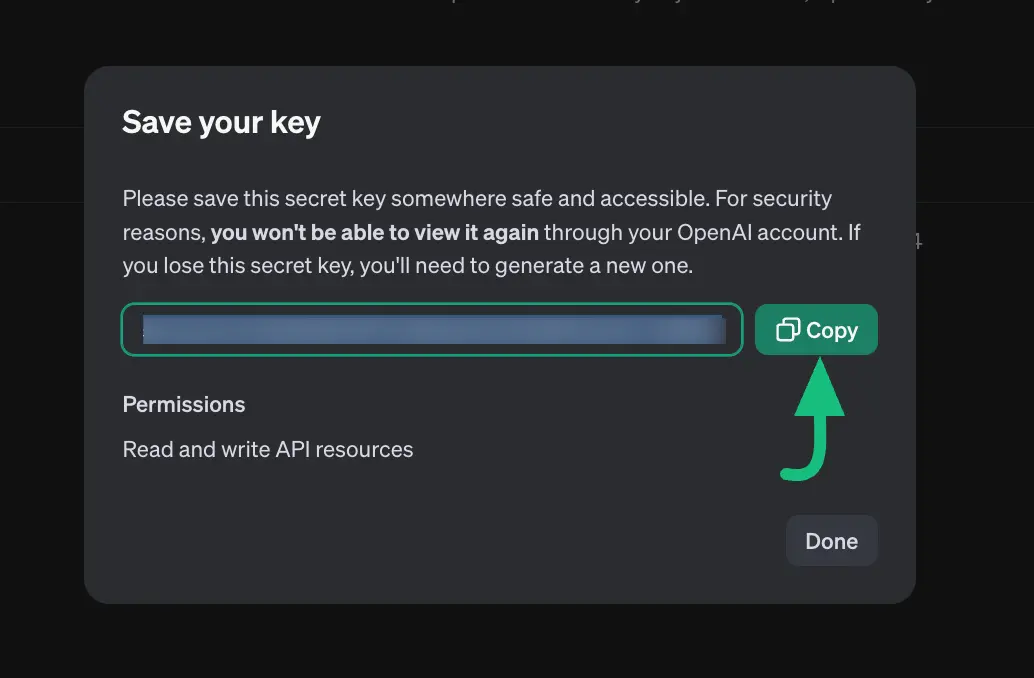
Finally, you will get the OpenAI API key, click the Copy button and you will get the API key. The process will be done.
Now, go back to OpenAI Integration , paste the API key you copied under the Access code , click the Verify OpenAI button and your OpenAI will be integrated.
TIP
To learn how you can use this integrated OpenAI inside a specific Ticket of Fluent Support, read this Documentation.
This way you can integrate the OpenAI with Fluent Support!