Appearance
Business Inbox Initially
A Business Inbox in Fluent Support acts as a dedicated communication channel for a specific brand, department, or website. It serves as a central hub that captures incoming inquiries via web forms or email piping and converts them into organized support tickets.
By using Business Inboxes, you can manage multiple brands or departments from a single WordPress dashboard while keeping their data and workflows entirely separate. This allows you to assign specific agents to certain inboxes, use unique email addresses for different services (like sales@ vs support@), and ensure customers receive replies from the correct identity.
Ultimately, it streamlines ticket routing, enhances team focus, and provides a professional, segmented support experience as your business scales.
Creating A Business Inbox
Initially , there is No Need to create a separate Business Inbox manually. A Web-based Business Inbox is created automatically when you frist provide all the necessary information to set up your support portal under the Onboarding Dashboard section.
This setup typically happens during the initial configuration of the plugin.
Automatic Creation via Onboarding Wizard
When you first install Fluent Support, the Onboarding Wizard guides you through the essential configurations.
- Business Information: You will be asked to enter your Business Name and Business Email.
- Portal Page: You will select or create a page for your support portal.
- Completion: Once you click Finish and complete the wizard, your Web-based Business Inbox is automatically generated using the details you provided.
For a detailed guide on this process, please refer to the Fluent Support Onboarding.
Portal Configuration via Global Settings
If you skipped the wizard or need to reconfigure the initial setup, you can ensure your initial inbox and portal are set up correctly through the Global Settings.
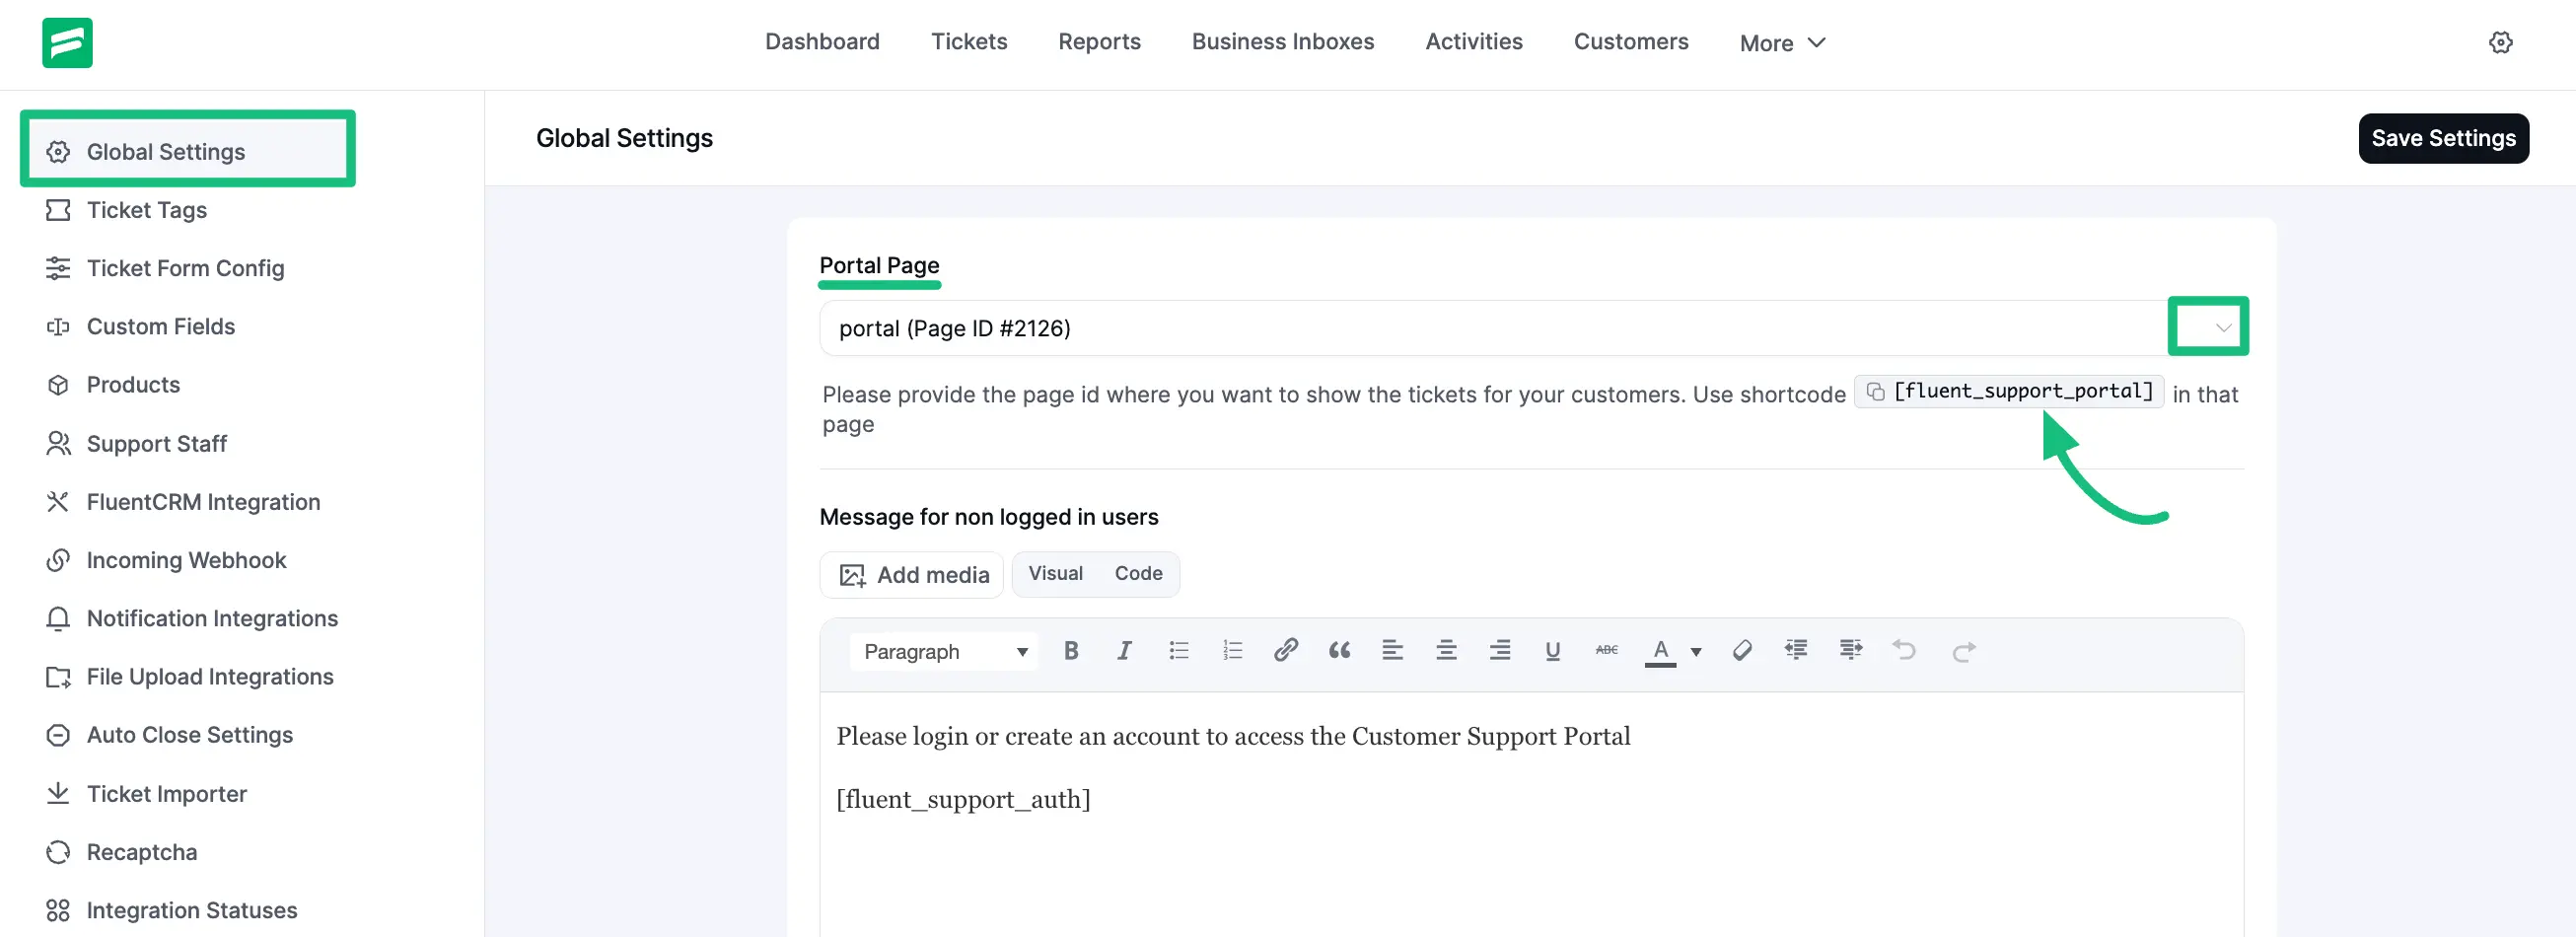
- Go to Settings from your Fluent Support Dashboard and click on Global Settings.
- Portal Page: Select the page where you want your support portal to appear, or use the shortcode
[fluent_support_portal]on a new page. - Save Settings: Once you save these global settings, the system ensures your primary Web-based inbox is active and connected to this portal page.
For more details on configuring these options, please check the Setup Customer Support Portal With Global Settings documentation.
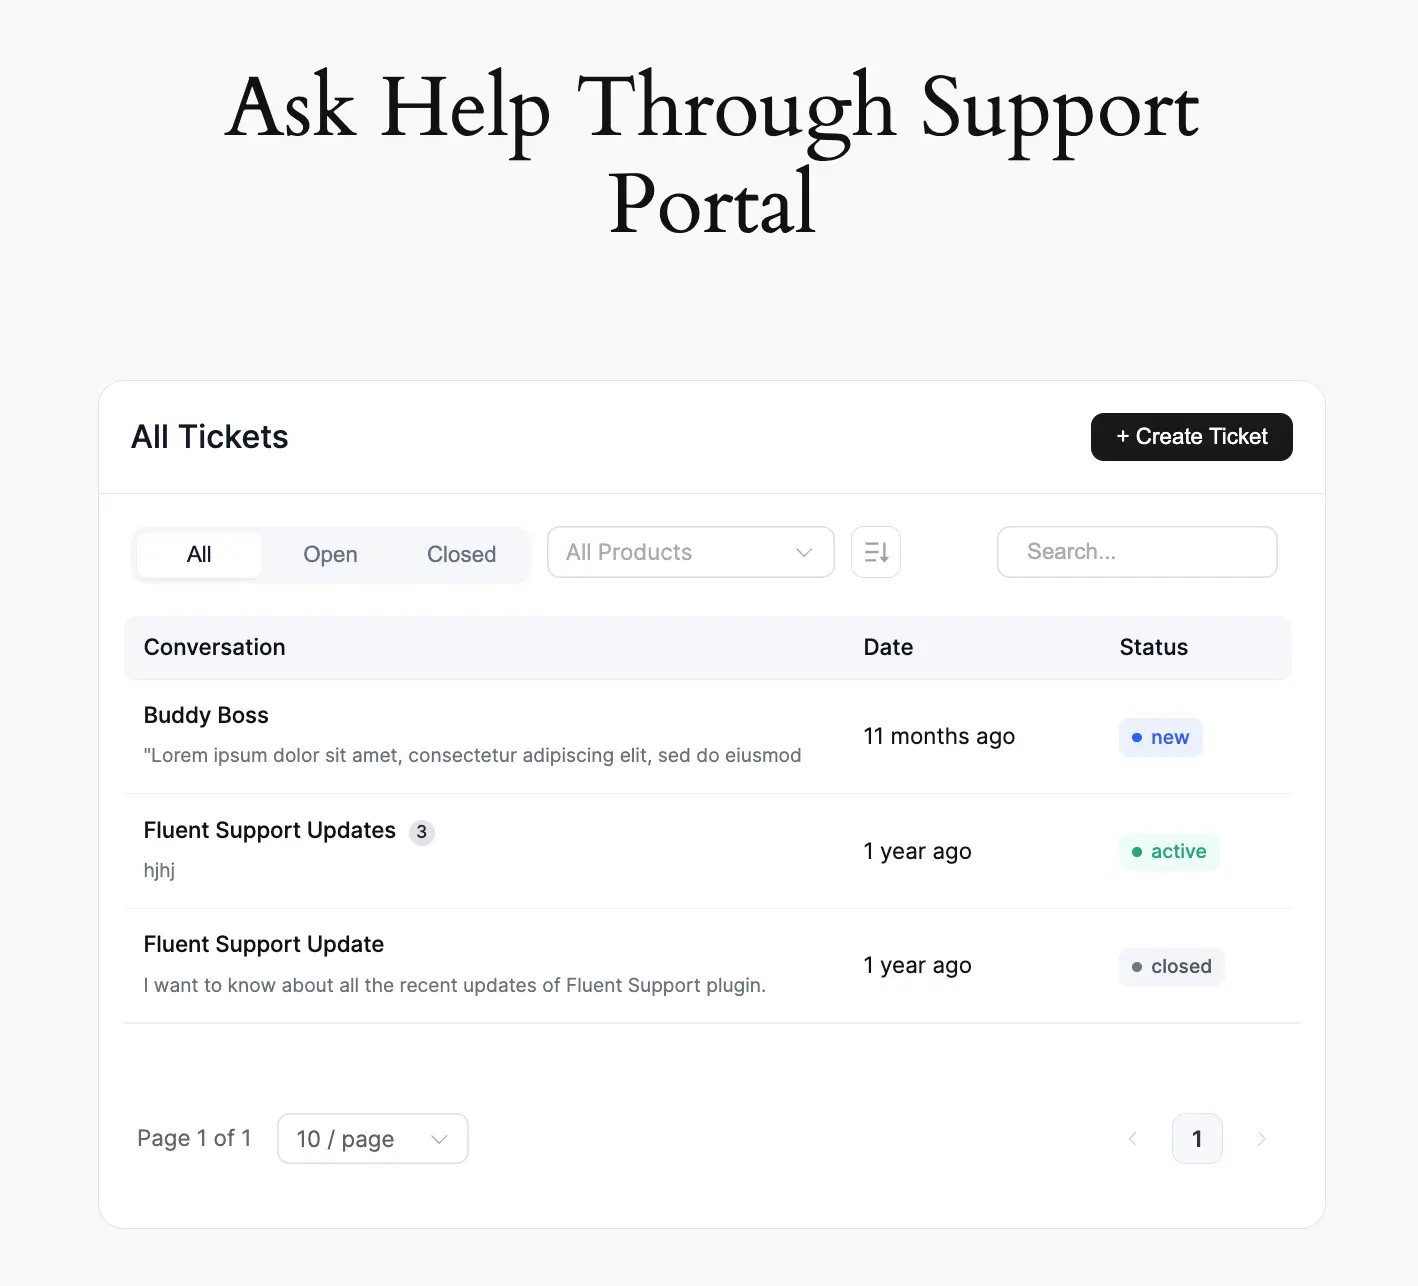
Preview of Customer Support Portal
Once set up, you can view your Customer Support Portal on the page you selected. This portal is directly connected to your automatically created Business Inbox.
Customize Your Support Portal
If you want to customize the design of your Support Portal for your customer, you can do this easily by adding the Fluent Support (Customer Portal) Gutenberg Block to your page or post.