Appearance
Fluent Support Onboarding
Fluent Support is a WordPress plugin offering an efficient support ticketing system for fast, reliable, and effective customer support. After installing and activating the plugin, an onboarding wizard will guide you through the essential configurations to get your support portal running in minutes.
This article will guide you through the onboarding setup process on your WordPress website.
Getting Started with the Setup Wizard
Once you have successfully installed and activated Fluent Support, you will be automatically redirected to the Fluent Support Onboarding Wizard. This multi-step process ensures your business details and support portal page are correctly configured from the start.
Step 1: Business Information & Portal Page
The first screen of the wizard welcomes you and asks for basic business information. Follow these steps:
- Business Name: Enter the name of your company or organization (e.g., Awesome Business Inc).
- Business Email: Provide the primary email address for your support system.
- Support Portal Page: You need a page where customers will view and manage their tickets. You can:
- Select an existing page from the dropdown menu.
- Check the box "Create a page automatically with the shortcode" to have Fluent Support create one for you.
NOTE
The page must contain the shortcode [fluent_support_portal].
Click the Next Step button to proceed.

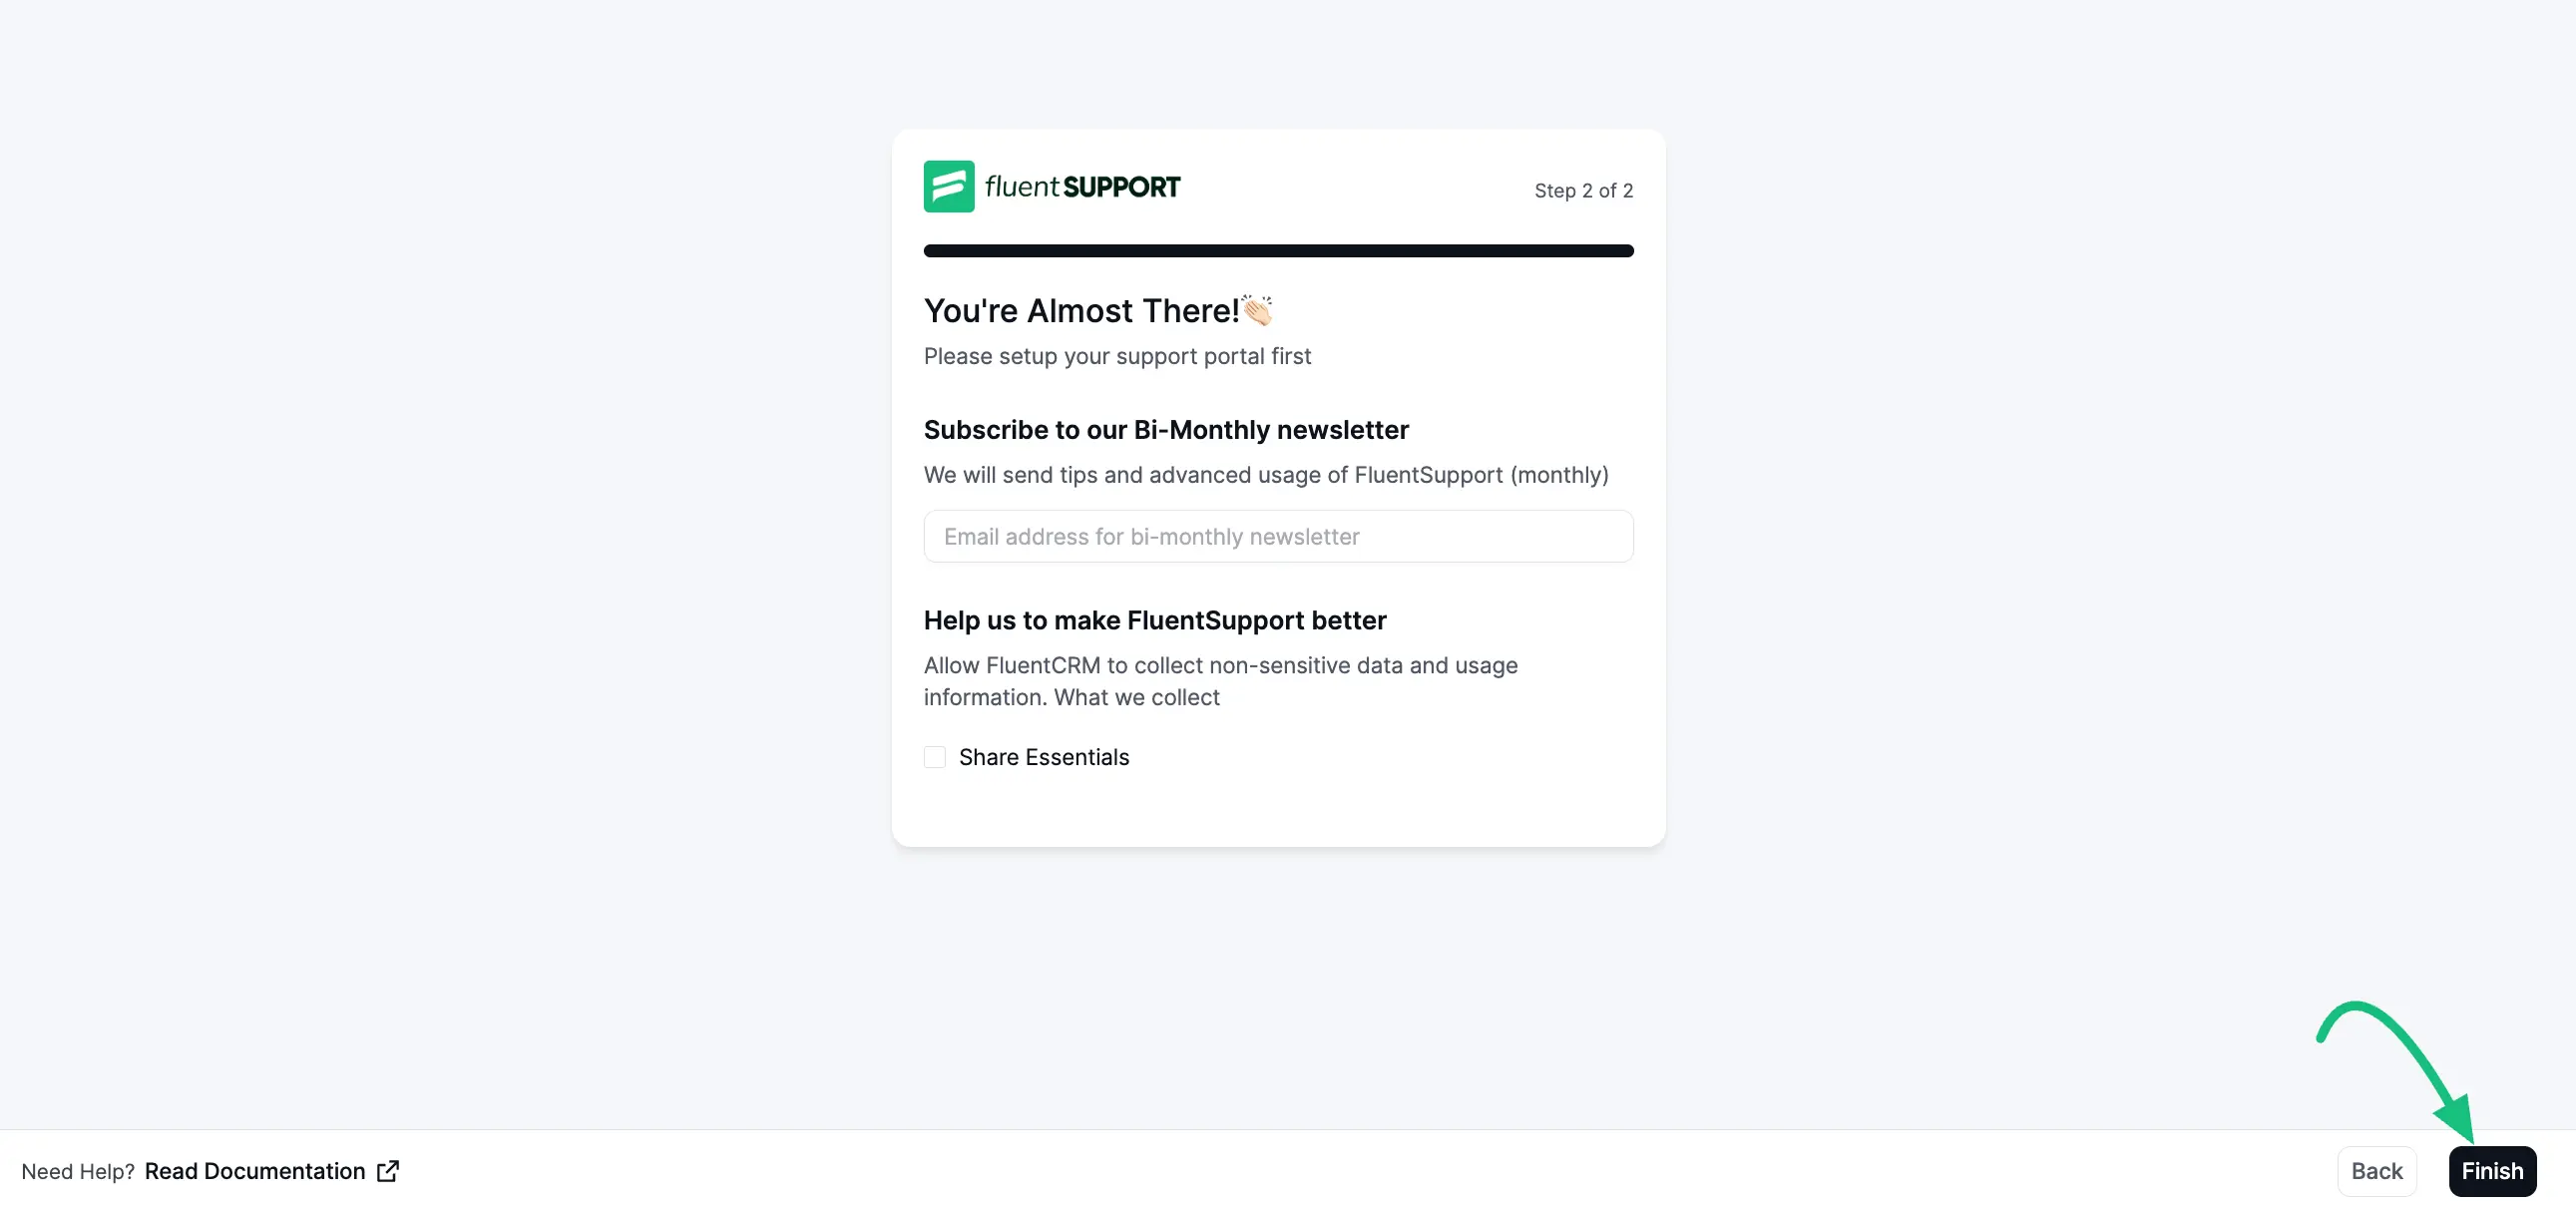
Step 2: Finalizing Your Setup
The second step allows you to stay updated and help improve the plugin environment.
- Newsletter: You can enter your email address to subscribe to the Bi-Monthly newsletter for tips and advanced usage guides.
- Share Essentials: Check this box if you wish to allow Fluent Support to collect non-sensitive usage data to help improve the plugin.
Click the Finish button to complete the setup.
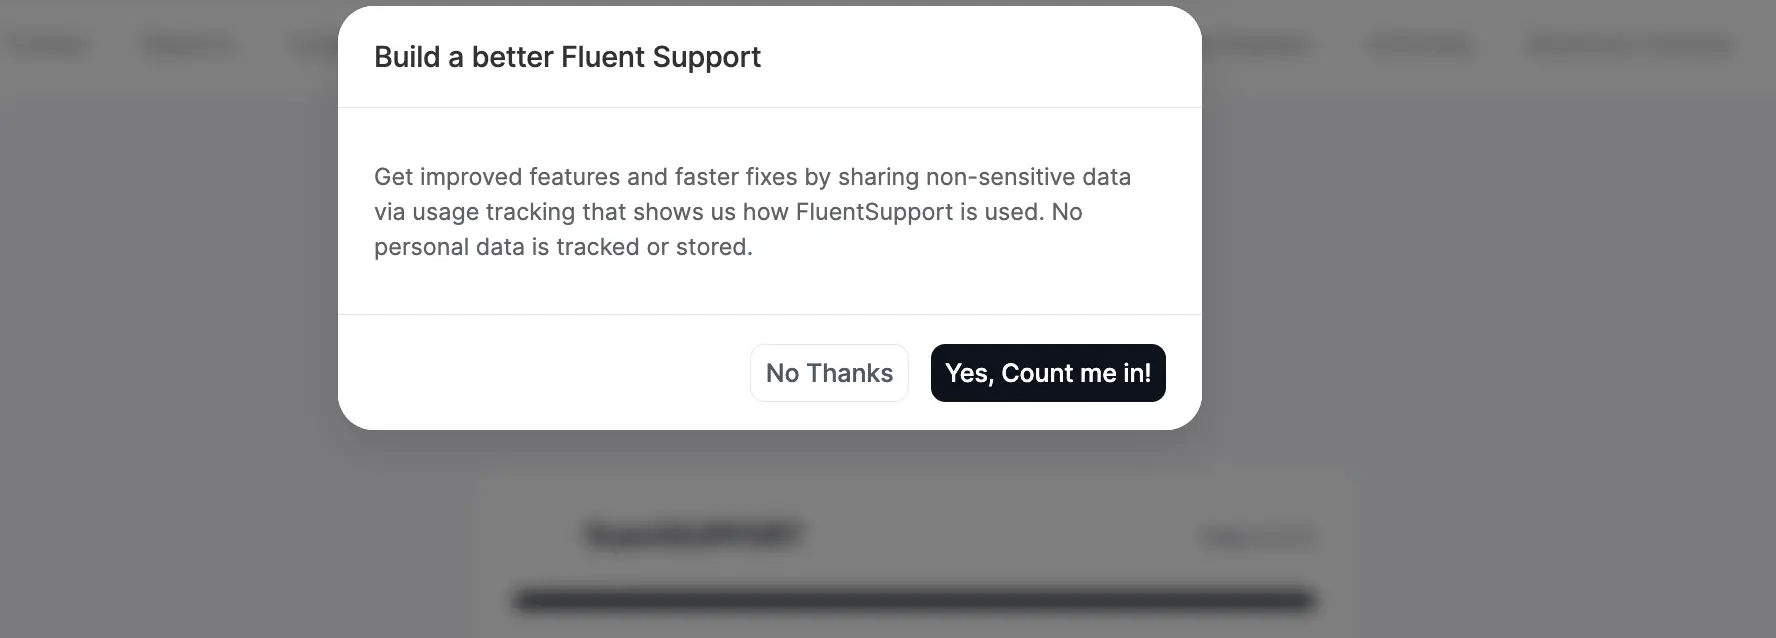
Usage Tracking Preference
During the process, you may see a pop-up asking to help build a better Fluent Support.
This option enables Fluent Support to collect non-sensitive data, allowing us to improve features and fix bugs more efficiently.
You can choose "Yes, Count me in!" to opt-in or "No Thanks" to decline. No personal data is tracked or stored.
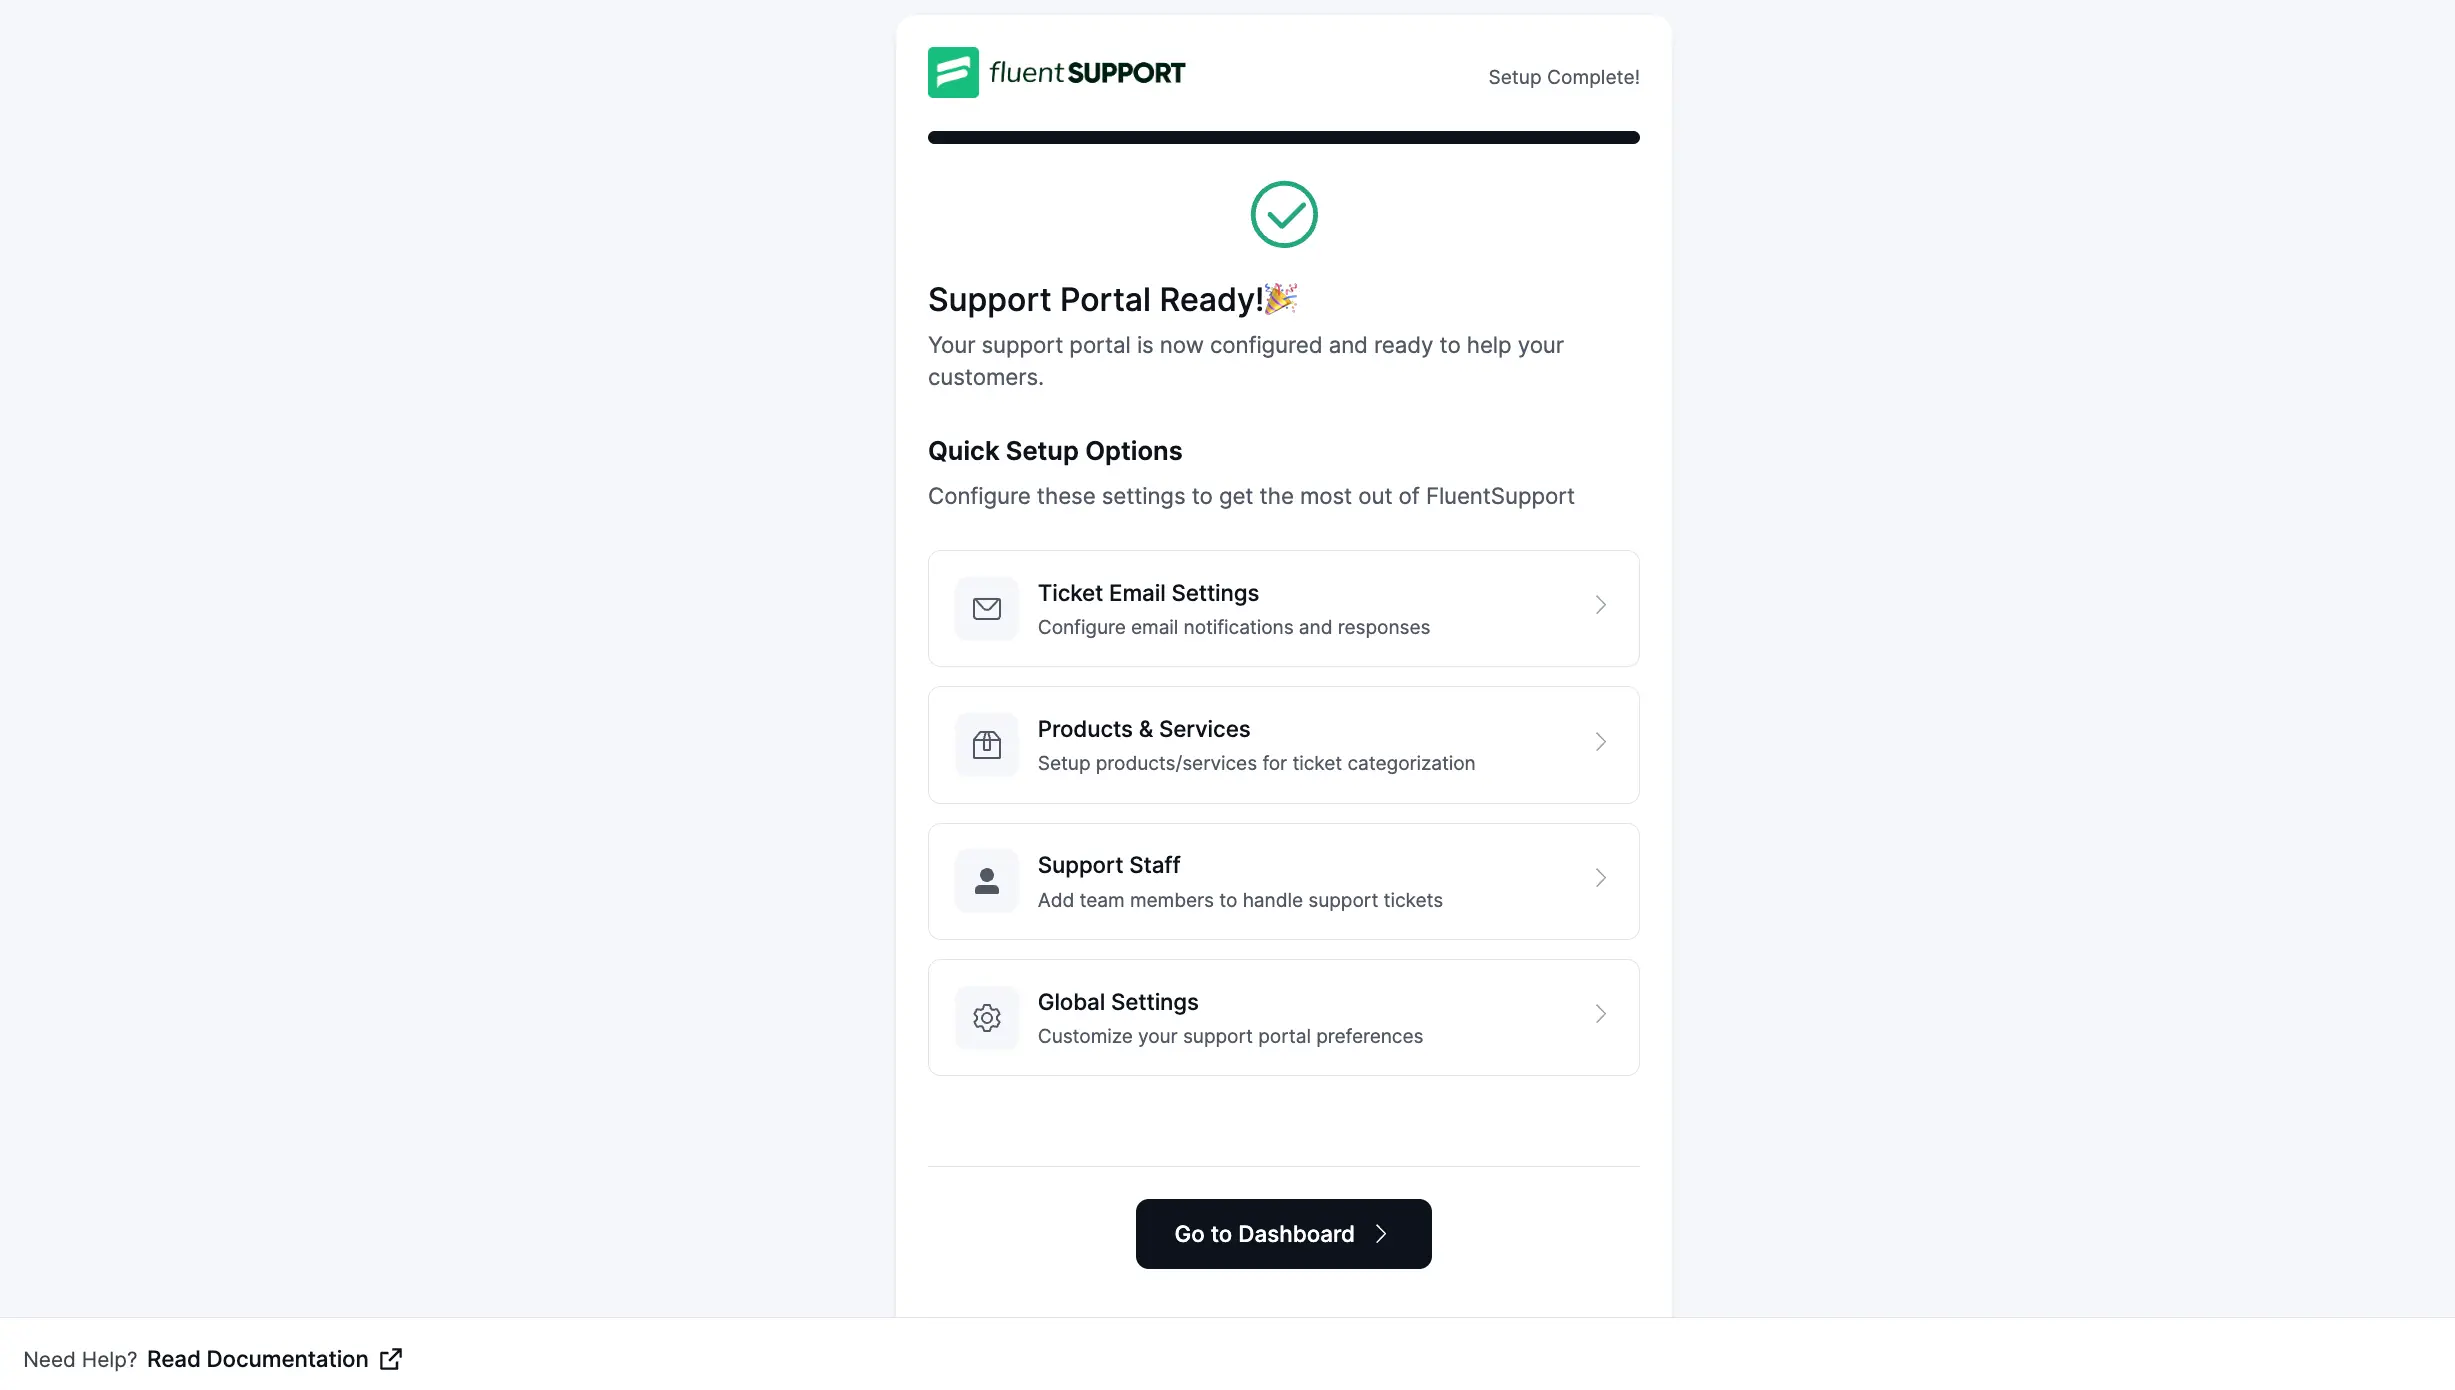
Setup Complete
Congratulations! Your support portal is now configured and ready to help your customers. You will see a success screen with a "Setup Complete!" badge.
From this screen, you have access to Quick Setup Options to customize your helpdesk further:
- Ticket Email Settings: Configure email notifications and responses.
- Products & Services: Set up products/services for ticket categorization.
- Support Staff: Add team members to handle support tickets.
- Global Settings: Customize your support portal preferences.
Simply click Go to Dashboard to enter your Fluent Support dashboard and start managing tickets.
Congratulations, now you can experience the features of the Fluent Support plugin and take your productivity to the next level! We hope this article helps you have an amazing experience.