Appearance
Ticket Display Settings
This guide explains how to use the Display Settings feature to customize how tickets appear in your dashboard. These options allow you to choose which information is visible at a glance and how much space each ticket occupies on your screen.
Accessing Display Settings
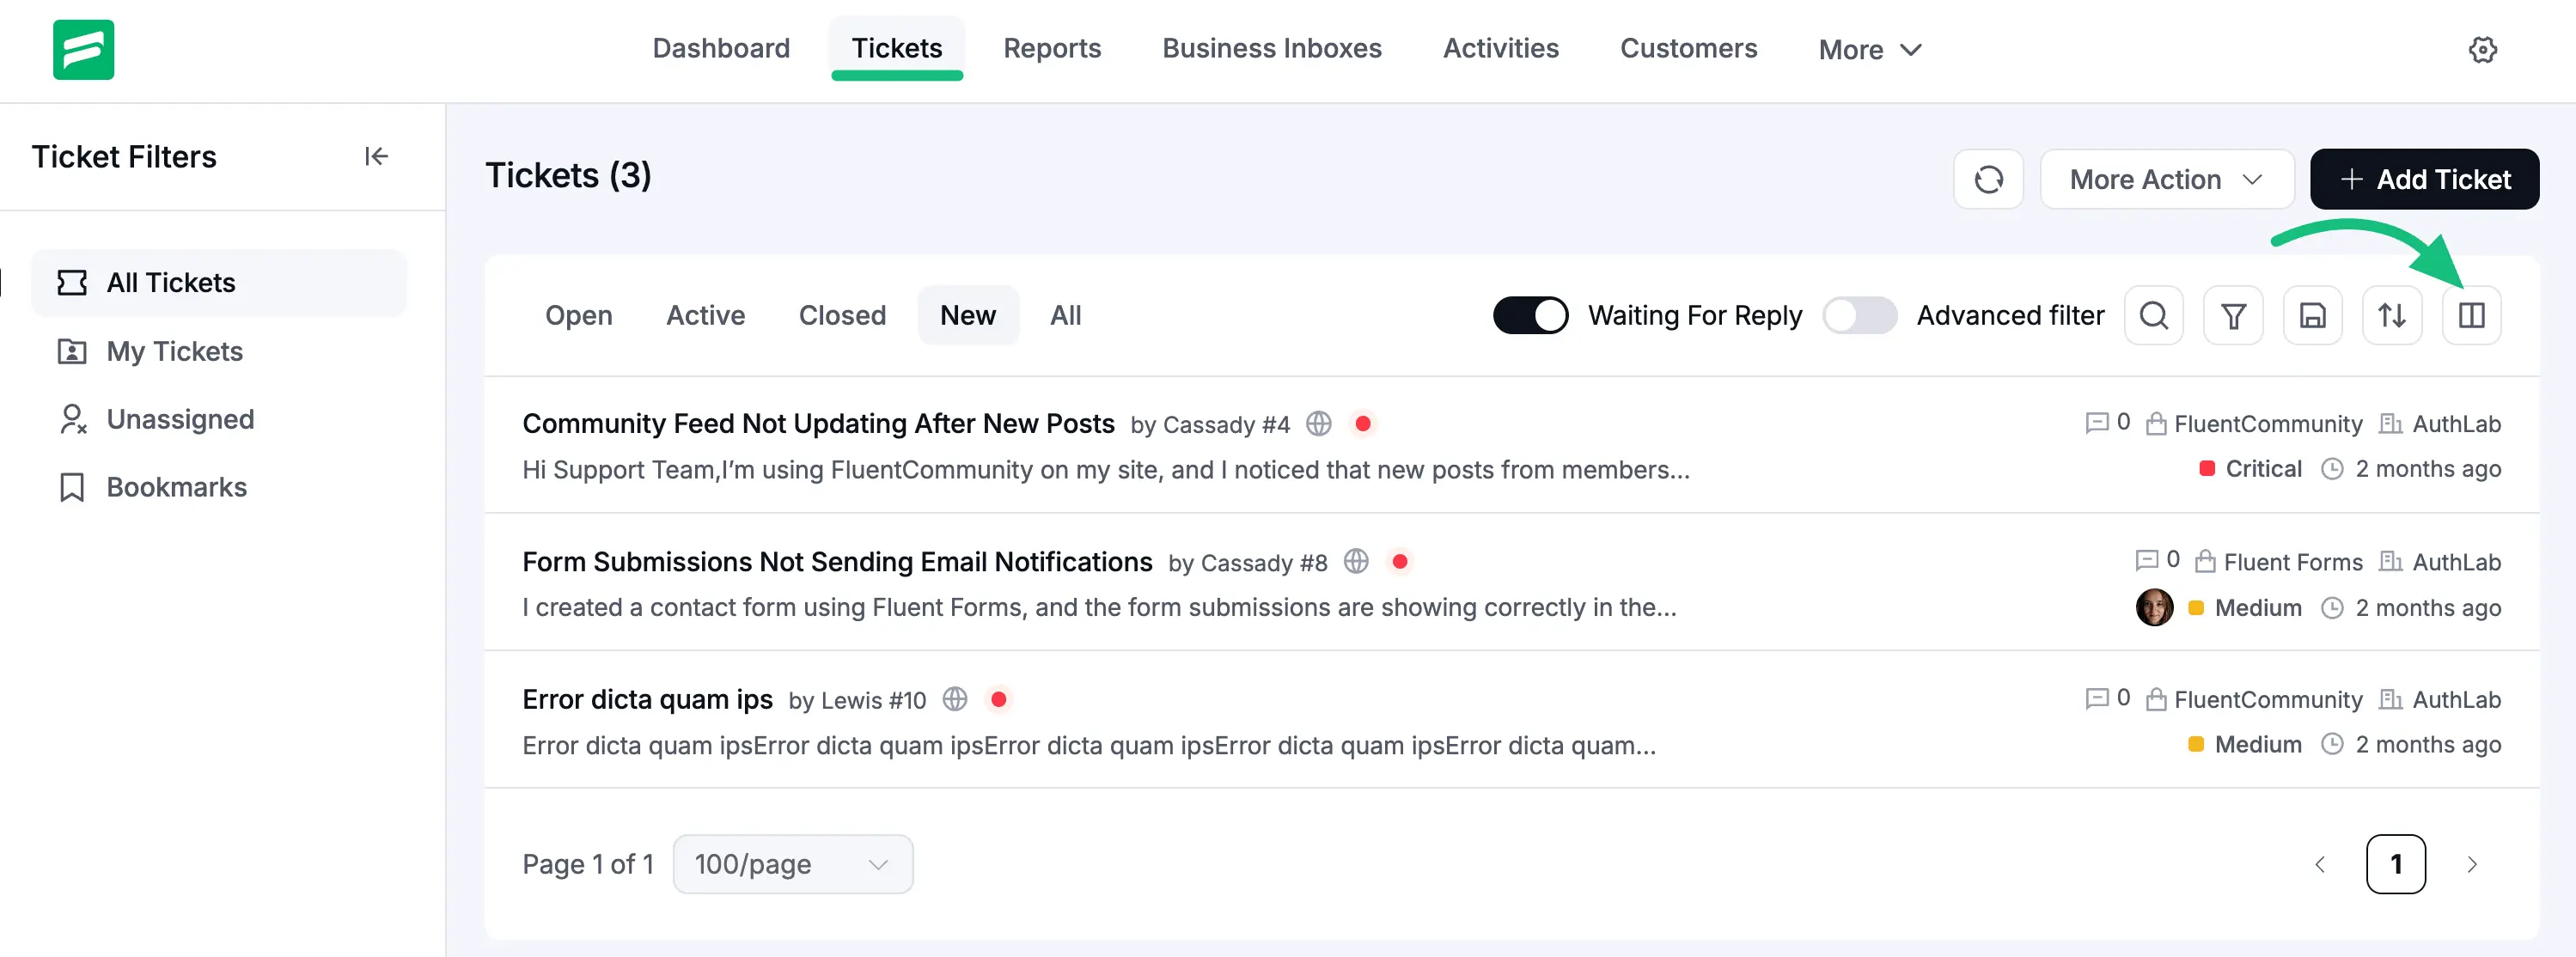
To open these options, navigate to the Tickets page from your dashboard. Look for the Display Settings icon (two vertical bars) located next to the sort icon on the top right side of the ticket list.
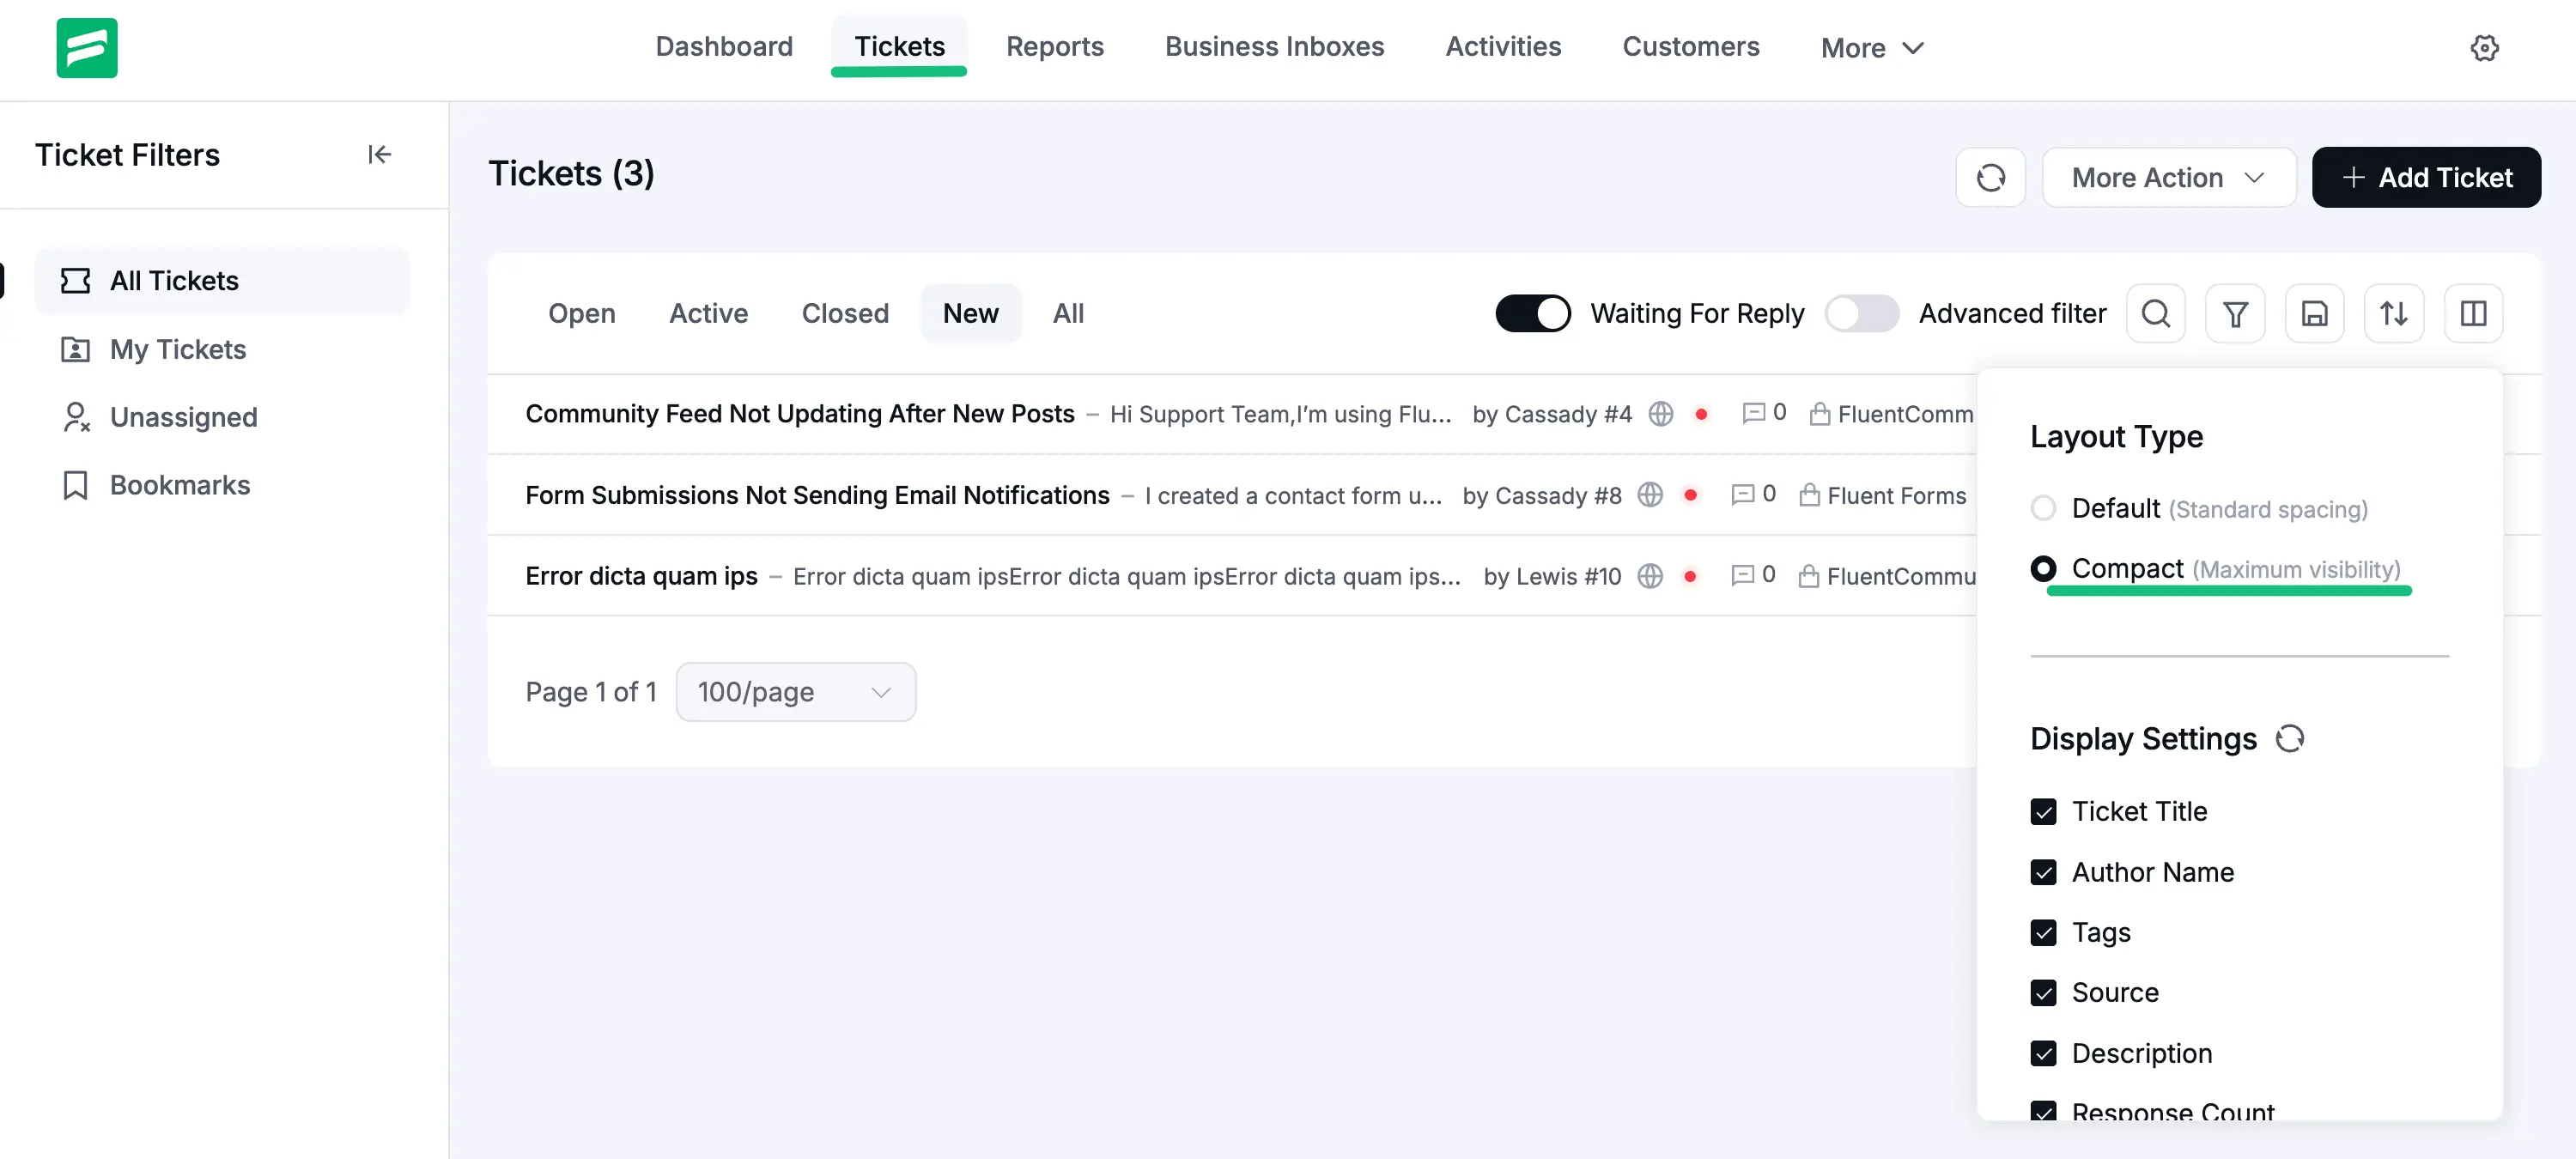
Layout Types
You can choose between two different layouts based on how much information you want to see:
- Default: This uses standard spacing, making the ticket list easy to read with a clean look.
- Compact: This minimizes the spacing between tickets to provide maximum visibility, allowing you to see more tickets on a single page.
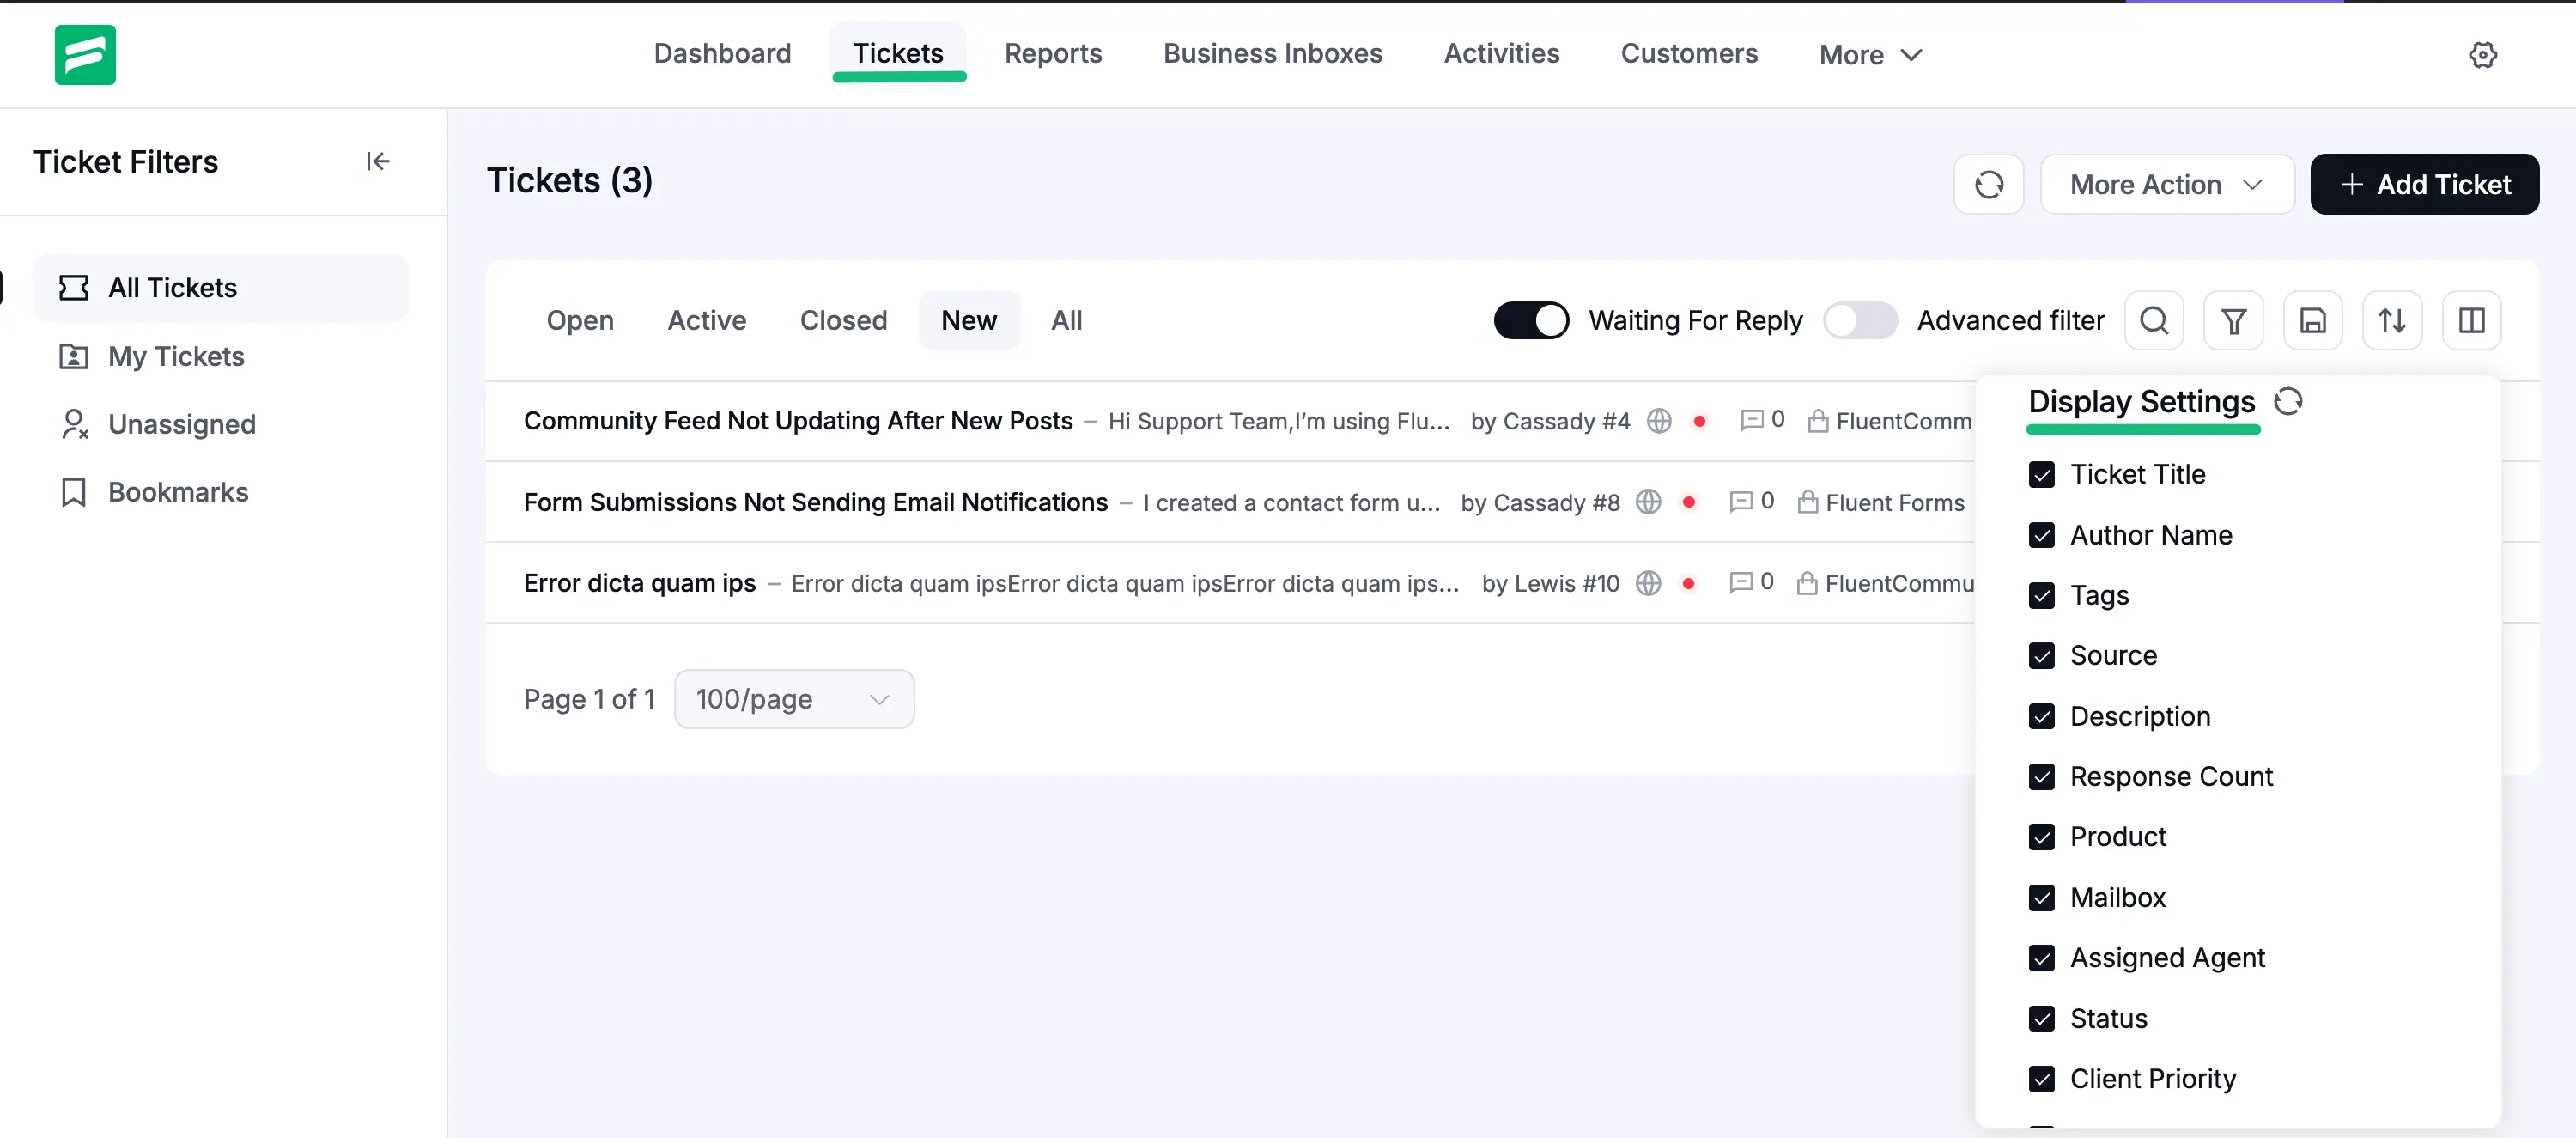
Display Settings Toggle
In this section, you can check or uncheck boxes to show or hide specific ticket details in the main list. This helps you focus only on the data that matters most to your workflow. You can toggle the following details:
- Ticket Title: The subject line of the ticket.
- Author Name: The name of the customer who created the ticket.
- Tags: Any custom labels applied for organization.
- Source: How the ticket was submitted (e.g., Web or Email).
- Description: A short preview of the ticket's message content.
- Response Count: The total number of replies in the conversation.
- Product: The specific product or service the inquiry is about.
- Mailbox: The Business Inbox where the ticket is stored.
- Assigned Agent: The support staff member currently handling the ticket.
- Status: The current state of the ticket (e.g., Active, New, or Closed).
- Client Priority: The urgency level selected by the customer.
- Waiting time: Displays exactly how long a ticket has been awaiting a response from an agent or staying in its current status.